Password SSH is fine for a homelab. SSH keys are better. They’re harder to brute-force, you don’t have to type a password every time, and once you set up an SSH agent you can log into a dozen servers with a single passphrase entered once per session.
This is the companion to the Enable SSH on Ubuntu Server guide. Once you have SSH working, this is the next step.
Tested on: Ubuntu Server 22.04 LTS, Ubuntu Server 24.04 LTS, Windows 11. Same instructions work on Raspberry Pi OS, Debian, and most Linux distributions.
What SSH keys actually are (in 60 seconds)
An SSH key is a pair of files: a private key (kept secret on your client machine) and a public key (copied to the server). When you connect, the server challenges the client to prove it has the private key. If the math works out, you’re in. The server never sees your private key, only the proof that you have it.
The advantage over passwords: passwords are short, keys are long. A 2048-bit RSA key has more entropy than any password a human will type, and ed25519 keys are even more compact for the same security.
Generate the key (on your client, not the server)
Most modern guides recommend Ed25519. It’s faster, smaller, and as secure as a 4096-bit RSA key.
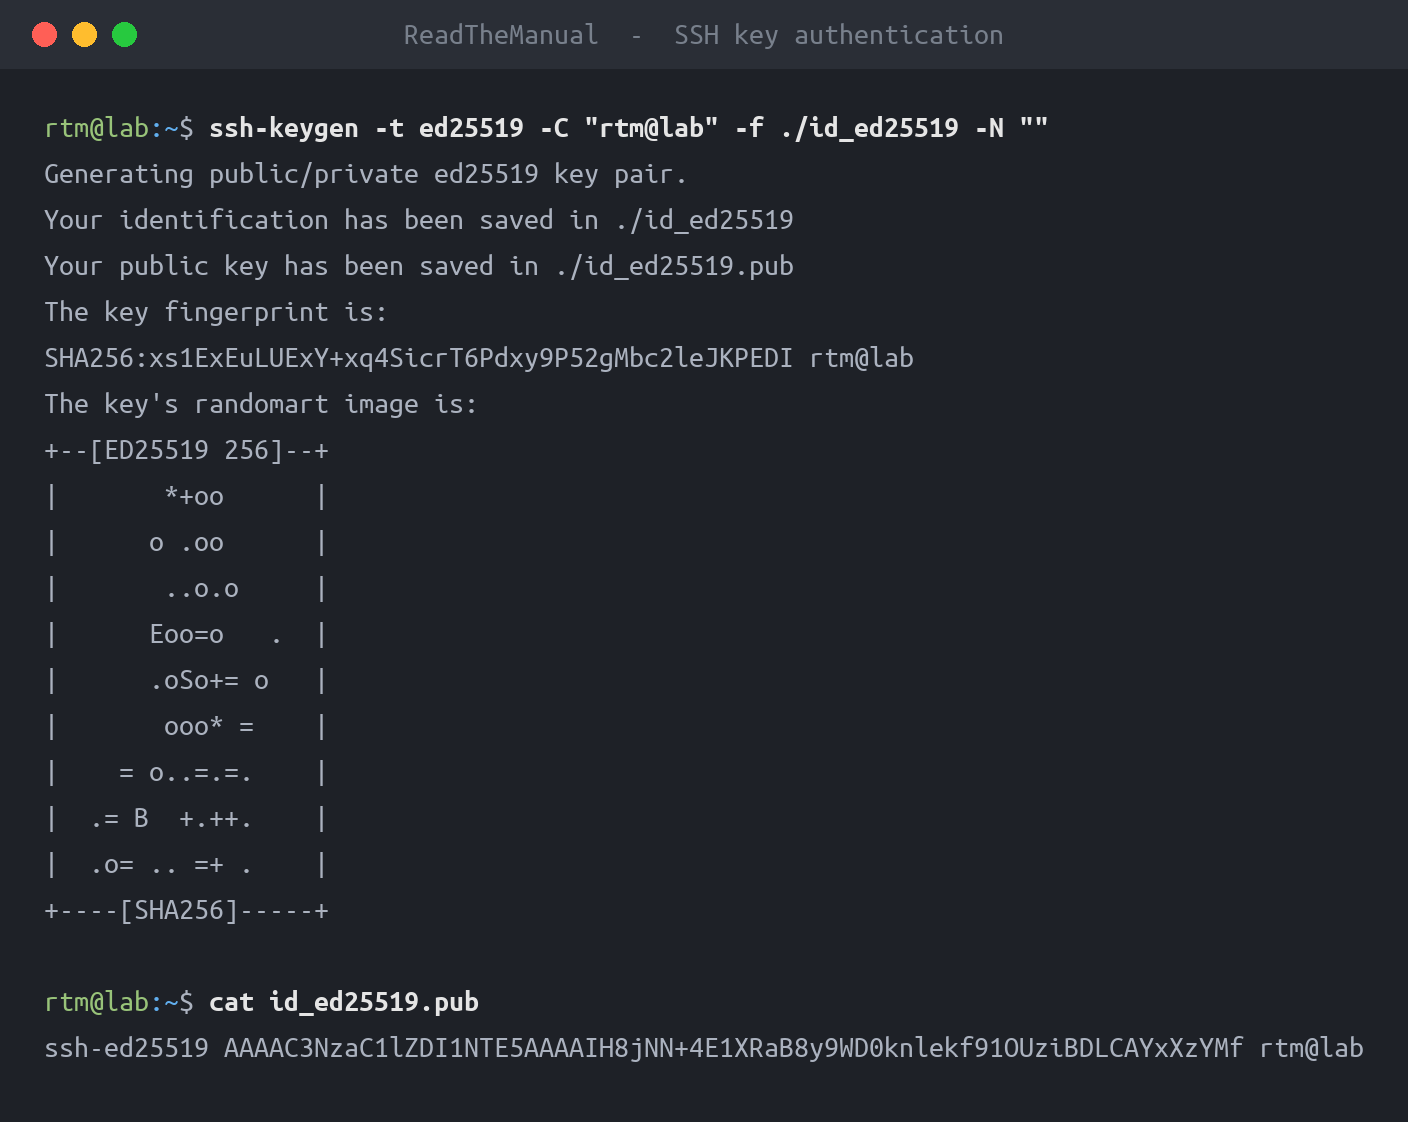
ssh-keygen -t ed25519 -C "[email protected]"
You’ll be asked:
Enter file in which to save the key (/home/you/.ssh/id_ed25519):
Press Enter to accept the default. Multiple keys for different purposes go in different files (e.g. ~/.ssh/id_ed25519_homelab) but for your first key, default is fine.
Enter passphrase (empty for no passphrase):
Set a passphrase. It encrypts the private key on disk — if your laptop is stolen, the attacker has to crack the passphrase before they can use the key. Without a passphrase, theft of the laptop means immediate compromise of every server the key can reach.
You can avoid typing the passphrase repeatedly with ssh-agent (covered below), so don’t skip it because you can’t be bothered.
After confirming, you’ll see two new files:
~/.ssh/id_ed25519       # private key, NEVER share this
~/.ssh/id_ed25519.pub   # public key, this goes on the server
Copy the public key to the server
The easy way — ssh-copy-id does it for you:
ssh-copy-id username@server-ip
This logs in with your password (last time you’ll need to), creates ~/.ssh/authorized_keys if needed, and appends your public key. Done.
The manual way (if ssh-copy-id isn’t available, e.g. on macOS in older versions or if you’re working through a jump host):
cat ~/.ssh/id_ed25519.pub | ssh username@server-ip 'mkdir -p ~/.ssh && cat >> ~/.ssh/authorized_keys && chmod 600 ~/.ssh/authorized_keys'
Both achieve the same end state.
Test it
ssh username@server-ip
If your key worked, you’ll be prompted for the passphrase you set on the key, not for the server password. That’s the difference — you’re decrypting your local key, not authenticating against a remote password.
If you’re prompted for the server password instead of the key passphrase, something didn’t take. Skip to the troubleshooting section below.
Use ssh-agent so you don’t type the passphrase every time
ssh-agent is a small background process that holds decrypted private keys in memory. Once you’ve entered the passphrase once per session, the agent answers SSH’s auth challenges without prompting you again.
On most Linux desktops, the agent is already running. On macOS, it’s running. On Ubuntu Server, you start it manually:
eval "$(ssh-agent -s)"
ssh-add ~/.ssh/id_ed25519
You’ll be prompted for the passphrase once. After that, every SSH session in that terminal session uses the agent and skips the prompt.
To make this persistent across login sessions, add to ~/.bashrc or ~/.zshrc:
if [ -z "$SSH_AUTH_SOCK" ]; then
  eval "$(ssh-agent -s)" >/dev/null
fi
Or use a desktop’s built-in keychain integration (GNOME Keyring, KDE Wallet, macOS Keychain).
Permissions matter (the silent killer)
SSH refuses to use keys with too-loose permissions, on the assumption that something has tampered with them. The required permissions:
chmod 700 ~/.ssh                          # directory: only you can enter it
chmod 600 ~/.ssh/id_ed25519               # private key: only you can read or write
chmod 644 ~/.ssh/id_ed25519.pub           # public key: anyone can read
chmod 600 ~/.ssh/authorized_keys          # on the server: only the user can read or write
If you copied keys around with cp or extracted them from a backup, permissions might be wrong. Set them explicitly with the commands above.
The error message when permissions are wrong is Permissions 0644 for '/home/user/.ssh/id_ed25519' are too open or similar. Run ls -la ~/.ssh/ to see what’s wrong.
On the server: the authorized_keys file
On the SSH server side, the file ~/.ssh/authorized_keys holds one public key per line. Each line is the entire content of an id_ed25519.pub file: type, key, comment.
Examine yours:
cat ~/.ssh/authorized_keys
You’ll see something like:
ssh-ed25519 AAAAC3NzaC1lZDI1NTE5...XYZ [email protected]
Multiple keys = multiple lines, one per authorised client.
To add another key (e.g. from a second laptop), append it:
echo "ssh-ed25519 AAAAC..." >> ~/.ssh/authorized_keys
To revoke a key, edit the file and delete its line. The next attempt by that key will fail with “Permission denied (publickey)”.
RSA vs Ed25519 vs ECDSA
| Type | Recommendation | Why |
|---|---|---|
| Ed25519 | Use this | Modern, fast, small, secure. Default for new setups. |
| RSA 4096 | Acceptable fallback | Wide compatibility (some old servers don’t speak Ed25519). Use -t rsa -b 4096. |
| RSA 2048 | Avoid for new keys | Considered minimum-acceptable, but Ed25519 is better in every way. |
| ECDSA | Avoid | Patent and trust concerns around the NIST curves. Ed25519 is the modern choice. |
| DSA | Don’t use | Disabled by default in modern OpenSSH. |
Troubleshooting
“Permission denied (publickey)” after copying the key
Most common causes, in order of frequency:
- Permissions on the server side. Run on the server:
chmod 700 ~/.ssh && chmod 600 ~/.ssh/authorized_keys - Wrong username. Run
whoamion the server. SSH user must match. - Wrong file edited.
~/.ssh/authorized_keys(plural keys, no extension). Common typos:authorized_key,authorised_keys. - PubkeyAuthentication is disabled in sshd_config. Run
sudo grep -i pubkey /etc/ssh/sshd_config— if it saysPubkeyAuthentication no, change it toyesand restart SSH.
Run with ssh -v username@host to see exactly what’s happening:
debug1: Offering public key: /home/you/.ssh/id_ed25519 ED25519 SHA256:...
debug1: Authentications that can continue: publickey,password
If your key is offered but rejected, the issue is server-side permissions or sshd_config. If your key isn’t offered, the client doesn’t see it — check ~/.ssh/ on the client.
Key still asks for password
The server isn’t accepting your key, so it’s falling back to password auth.
ssh -v username@host 2>&1 | grep -A1 'Authentications that can continue'
If you see publickey in the list but the connection still falls back to password, your key isn’t being accepted. See the previous section.
“Agent admitted failure to sign”
The agent has the key but the actual signing operation is failing. Usually a sign that you have a stale or corrupt key in the agent.
ssh-add -D     # remove all keys from agent
ssh-add ~/.ssh/id_ed25519   # re-add freshly
Multiple keys — which one does SSH use?
By default SSH offers all keys in ~/.ssh/ named id_* until one works. To force a specific key for a specific host, use ~/.ssh/config:
Host homelab
  HostName 192.168.1.50
  User pi
  IdentityFile ~/.ssh/id_ed25519_homelab
  IdentitiesOnly yes
Then ssh homelab connects with the right key, no IP needed.
What’s next
With keys working, the next step is to disable password authentication entirely. Once that’s done, brute-force attempts can’t get in regardless of how weak someone’s password is.
That’s covered in the SSH Hardening guide. Don’t disable passwords until your keys are working from every client you care about, or you’ll lock yourself out.
Lab Skill, Production Requirement
Key-based auth is not just a homelab nicety. It is mandatory in most enterprise environments. Azure VMs disable password auth by default. AWS EC2 instances ship with key-only access. GitHub dropped password auth for Git operations in 2021. If you work in IT and you have not set up SSH keys, you are behind.
Learn it on your Pi or your Proxmox node, and you already know how it works on every cloud platform. The ssh-keygen command, the authorized_keys file, the permissions dance. All identical. The enterprise version just adds a certificate authority and key rotation policy on top of what you already know.
Companion guides: Enable SSH on Ubuntu Server, Enable SSH on Raspberry Pi, SSH Hardening, Common SSH Errors.
The Complete SSH Series
Getting connected
- Enable SSH on Ubuntu Server
- Enable SSH on Raspberry Pi
- SSH Essentials: Remote Administration
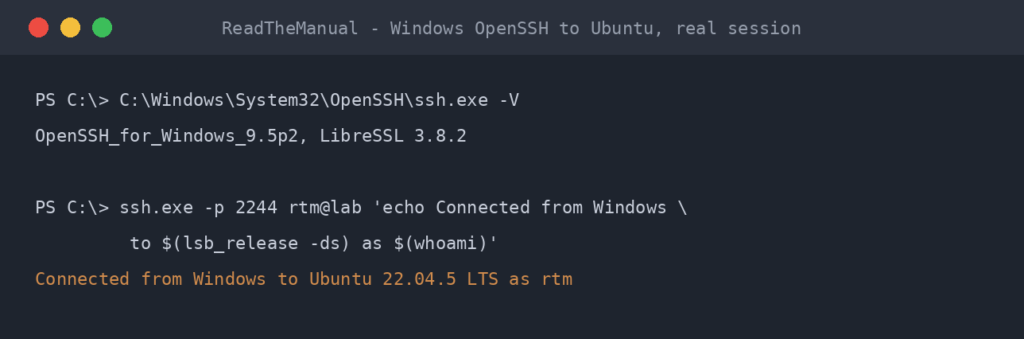
- SSH from Windows to Ubuntu
Authentication and hardening
- SSH Key Authentication (you are here)
- SSH Server Hardening
- Fail2ban for SSH
File transfer and tunnelling
Reference

ReadTheManual is run, written and curated by Eric Lonsdale.
Eric has over 20 years of professional experience in IT infrastructure, cloud architecture, and cybersecurity, but started with PCs long before that.
He built his first machine from parts bought off tables at the local college campus, hoping they worked. He learned on BBC Micros and Atari units in the early 90s, and has built almost every PC he’s used between 1995 and now.
From helpdesk to infrastructure architect, Eric has worked across enterprise datacentres, Azure environments, and security operations. He’s managed teams, trained engineers, and spent two decades solving the problems this site teaches you to solve.
ReadTheManual exists because Eric believes the best way to learn IT is to build things, break things, and actually read the manual. Every guide on this site runs on infrastructure he owns and maintains.
Enjoyed this guide?
New articles on Linux, homelab, cloud, and automation every 2 days. No spam, unsubscribe anytime.