Fail2ban watches your auth log, counts failed login attempts per source IP, and bans the source after a configurable threshold. With SSH key authentication and password auth disabled, brute-force attempts can’t succeed anyway — but they still hit your logs, consume CPU, and clutter journalctl. Fail2ban makes them go away.
Prerequisite: SSH already enabled and ideally with key auth and password auth disabled. Fail2ban is a defence-in-depth layer, not a replacement.
Tested on: Ubuntu Server 22.04 LTS, 24.04 LTS. Fail2ban version 0.11.x and 1.0.x.
Install
sudo apt update
sudo apt install fail2ban
The default config enables an SSH jail out of the box — ssh attempts already get monitored on a fresh install. But the defaults are conservative; you’ll want to tune them.
Verify it’s running
sudo systemctl status fail2ban
You want Active: active (running).
To see currently active jails:
sudo fail2ban-client status
You should see sshd in the jail list. To see the SSH jail’s current state:
sudo fail2ban-client status sshd
Output shows currently banned IPs, total bans since start, and the log file being monitored.
Custom configuration
The default config lives in /etc/fail2ban/jail.conf. Don’t edit it directly — changes get overwritten on package updates. Instead create /etc/fail2ban/jail.local with your overrides.
sudo nano /etc/fail2ban/jail.local
Recommended starting point:
[DEFAULT]
# Whitelist your home IP and any trusted networks
ignoreip = 127.0.0.1/8 ::1 192.168.1.0/24

# Ban time in seconds (3600 = 1 hour)
bantime = 3600

# Window for counting failures (600 = 10 minutes)
findtime = 600

# How many failures before ban
maxretry = 3

# Where the ban list is saved (so it survives reboots)
banaction = ufw

[sshd]
enabled = true
port    = ssh
logpath = %(sshd_log)s
backend = systemd
Reload after editing:
sudo systemctl restart fail2ban
What each setting actually does
ignoreip: IPs in this list are NEVER banned. Add your home IP, your office IP, your phone’s hotspot range. Your VPN’s egress range if you use one.bantime: how long an IP stays banned. 1 hour for noisy scanners, 24 hours (86400) for repeat offenders. Set to-1for permanent.findtime: the window during whichmaxretryfailures triggers a ban. 10 minutes is reasonable — long enough to catch slow attempts, short enough that legitimate typos don’t accumulate.maxretry: how many failed auths infindtimetriggers a ban. 3 is tight; 5 is more forgiving.banaction = ufw: integrate withufwso bans become firewall rules. Without this, fail2ban uses iptables directly — works fine but doesn’t show up inufw status.
Whitelist your own IP (do this first)
Locking yourself out of your own server is the rite of passage. Avoid it:
# What's my current IP?
curl ifconfig.me

# Add to /etc/fail2ban/jail.local under [DEFAULT]
ignoreip = 127.0.0.1/8 ::1 YOUR_IP_HERE
Restart fail2ban. Now you can fail-test from another machine without banning yourself in the process.
For dynamic IPs (most home internet connections), the safer move is to whitelist a Tailscale range or VPN range that you always connect through.
Test it works
From a second IP (NOT your whitelisted one) — a phone on mobile data is fine — intentionally fail SSH a few times:
ssh wrong-username@your-server-ip
# enter wrong password 3 times
Then on the server, check the jail:
sudo fail2ban-client status sshd
You should see the test IP in the banned list. To verify the firewall rule:
sudo ufw status numbered
You should see a deny rule for that IP at the top of the list.
Unban yourself (when you do, eventually, lock yourself out)
If you’ve banned an IP you didn’t mean to:
sudo fail2ban-client unban 192.168.1.50
# or unban everything currently banned
sudo fail2ban-client unban --all
Or remove from the firewall directly:
sudo ufw delete deny from 192.168.1.50
If you’re locked out of the server entirely (banned your own home IP from outside) — you need physical access or out-of-band console (KVM, hosting provider’s console). Edit /etc/fail2ban/jail.local, add your IP to ignoreip, restart fail2ban, unban yourself.
This is why mesh VPNs are useful. If your SSH access is via Tailscale, locking yourself out of internet-facing SSH doesn’t matter — you still have Tailscale.
Custom log message hooks
If you want to know when bans happen, add an action that emails you (or pushes to Telegram, Slack, whatever). Out-of-the-box, fail2ban supports email via the mta action.
[sshd]
enabled = true
action = %(action_mwl)s
sender = [email protected]
destemail = [email protected]
mta = sendmail
action_mwl = mail with whois log — emails you the banned IP, geolocation, and the relevant log lines.
For Telegram or Slack, you’ll need a custom action. Not built into the package — search “fail2ban telegram action” for community-maintained scripts.
Troubleshooting
“Failed to access socket path: /var/run/fail2ban/fail2ban.sock”
Fail2ban isn’t running. sudo systemctl start fail2ban and check journalctl -u fail2ban for the actual error.
Bans aren’t happening
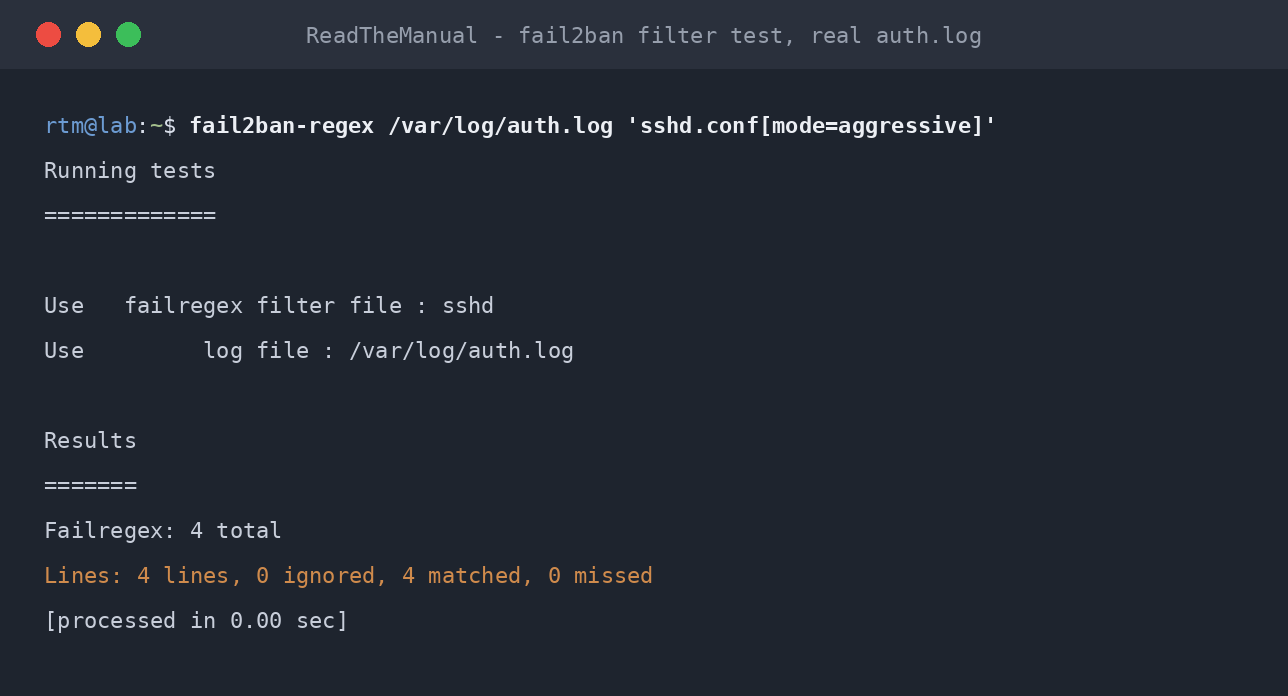
Check the jail backend. On Ubuntu 22.04+, systemd-journald is the log source, not /var/log/auth.log. Make sure backend = systemd is set.
IPs are banned but still connecting
The banaction is firing but the firewall rule isn’t being applied. Check sudo ufw status for the deny rule. If banaction = ufw but ufw isn’t enabled, the ban is a no-op. Run sudo ufw enable (after allowing SSH first if remote).
My phone got banned during a normal session
Mobile carriers sometimes route through different exit IPs mid-session, which can look like multiple failed sessions from different IPs. Increase findtime and maxretry if this happens often, or whitelist the carrier’s range.
Trust, but tune
The defaults err on the side of “block scanners aggressively.” For a homelab where you control the clients, that’s perfect. For a customer-facing server where legitimate users sometimes typo their password, you may want to raise maxretry to 5 and lower bantime to 600 seconds.
Watch the logs for a week after install:
sudo journalctl -u fail2ban -n 100
If you’re banning IPs that turn out to be your own users, tune. If the only bans are obvious scanners, leave the config tight.
What this doesn’t replace
- Disabling password auth entirely (see SSH Hardening). Far stronger than relying on fail2ban catching brute-forces.
- Restricting SSH to specific source IPs at the firewall. Even better.
- Putting SSH behind a VPN (Tailscale, NetBird, WireGuard). Best.
Fail2ban is the cheap insurance layer that comes after the structural fixes.
From Pi-hole Logs to Enterprise Threat Detection
Fail2ban on your homelab teaches you the same intrusion detection principles as CrowdSec, OSSEC, or the alerting rules in an enterprise SIEM. Watch logs, detect patterns, take automated action. The brute-force attempts hitting your Pi on port 22 are the same ones hitting corporate infrastructure, from the same botnets, using the same credential lists.
Understanding how fail2ban parses auth logs, applies regex filters, and triggers firewall rules gives you a practical grasp of detection engineering that transfers directly to tools like Wazuh or Splunk. The scale is different. The thinking is identical.
Companion guides: Enable SSH on Ubuntu Server, SSH Hardening, SSH Key Authentication on Ubuntu.
The Complete SSH Series
Getting connected
- Enable SSH on Ubuntu Server
- Enable SSH on Raspberry Pi
- SSH Essentials: Remote Administration
- SSH from Windows to Ubuntu
Authentication and hardening
- SSH Key Authentication
- SSH Server Hardening
- Fail2ban for SSH (you are here)
File transfer and tunnelling
Reference

ReadTheManual is run, written and curated by Eric Lonsdale.
Eric has over 20 years of professional experience in IT infrastructure, cloud architecture, and cybersecurity, but started with PCs long before that.
He built his first machine from parts bought off tables at the local college campus, hoping they worked. He learned on BBC Micros and Atari units in the early 90s, and has built almost every PC he’s used between 1995 and now.
From helpdesk to infrastructure architect, Eric has worked across enterprise datacentres, Azure environments, and security operations. He’s managed teams, trained engineers, and spent two decades solving the problems this site teaches you to solve.
ReadTheManual exists because Eric believes the best way to learn IT is to build things, break things, and actually read the manual. Every guide on this site runs on infrastructure he owns and maintains.
Enjoyed this guide?
New articles on Linux, homelab, cloud, and automation every 2 days. No spam, unsubscribe anytime.