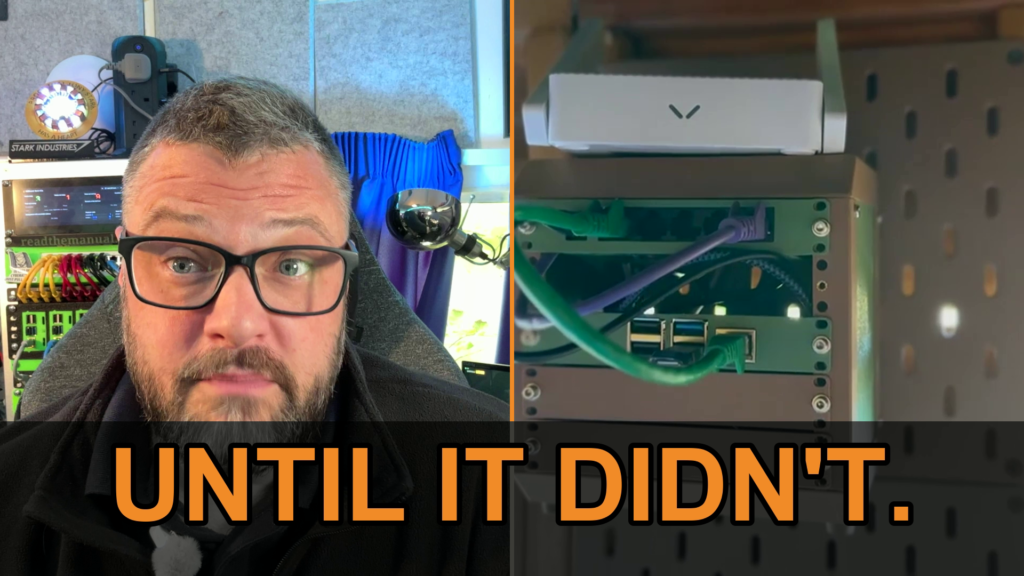
I’ve had an allotment for about six years. It’s a shed in a field with no mains power and no internet, so I put a server in it.
This page is the build log. It covers what’s in the shed, how it’s powered and connected, the software running on it, and the three things that took it offline. Each piece links to the guide that shows you how to do it yourself. The video is the quick version; this page has the detail and the numbers.
Last updated 15 October 2026. Episode 1 (the build and the failures) is out. Episode 2 (the rebuild) is next.
Why put a server in a shed
Two reasons. I wanted to keep an eye on the plot without driving up there. And I wanted a platform for sensors later: soil moisture, polytunnel temperature, irrigation, the water tank level. None of those are built yet. The first step was to get a computer running out there on its own power, reachable from home and secured.
It’s also a good place to learn. Running something off-grid on a cheap data SIM makes you deal with power budgets, carrier NAT, data caps and the weather, which a homelab sitting under a desk never has to.
What’s in the shed
| Part | What it does |
|---|---|
| Raspberry Pi 4, headless | The server. It booted off a USB stick as a proof of concept, which matters later |
| Cudy 4G router with the cheapest data SIM going | The internet connection, and the shed Wi-Fi for future sensors |
| Small USB-powered managed switch | About 2 W |
| 3D-printed 5-inch mini rack on a printed pegboard | Holds it all on the shed wall. Printed in PLA, which also matters later |
| 100 Ah 12 V LiFePO4 battery | Storage |
| 35 W solar panel on the roof, plus a charge controller | Charging |
Why LiFePO4 rather than a leisure battery: the voltage stays flat while it discharges, so the Pi gets steady power. You can use 80 to 90% of the capacity, partial charging doesn’t damage it through sulphation, and it copes better with the cold.
The rack is a smaller cousin of the 10-inch rack build.
The power budget
The whole setup draws about 11 W, or roughly 276 Wh a day.
A 35 W panel gives about 74 Wh a day in spring and about 110 Wh in summer. So it never kept up. The battery was covering the gap, and a full battery lasts about three and a half days with no sun. The fix is a 100 to 130 W panel, which goes in with the rebuild.
If you’re planning anything off-grid, work this sum out before you buy the panel. I didn’t.
The stack, link by link
This is the part most people never got to in the first version of the video, so here it is in order. Each step links to the guide for that skill.
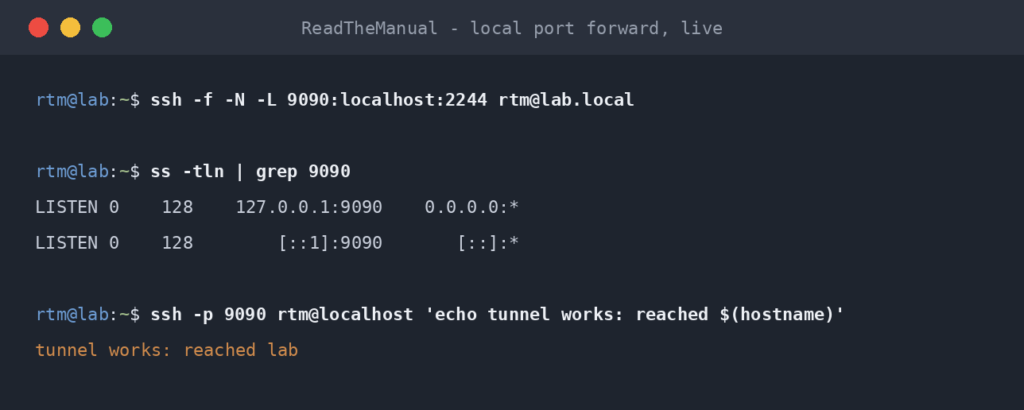
- Getting in. 4G connections sit behind carrier NAT, so the Pi has no public address and port forwarding isn’t possible. The only way in is a WireGuard-based mesh VPN (I use Netbird). Nothing is exposed to the internet. Start with WireGuard on Ubuntu to see how the underlying tunnel works.
- Locking it down. SSH is restricted, the firewall denies everything by default, fail2ban is on and updates install automatically. Every port is open to the mesh only. A security agent reports back home. The guides: enable SSH on a headless Pi, SSH server hardening, UFW restricted to your own network, fail2ban for SSH.
- Docker, three containers: the MQTT broker, the camera stream and a sensor publisher. Install Docker on a Raspberry Pi.
- An MQTT broker on the Pi (Mosquitto). Sensors at the allotment publish to it locally, so they never need the mesh.
- A sensor publisher that reads the Pi’s own temperature, load, memory, disk and uptime. It needs no extra hardware, so it proves the whole pipeline works before the real sensors arrive.
- A broker at home bridges to it over the mesh, so the allotment shows up in Home Assistant as a single device. If the bridge drops, that’s how I know the shed is offline. Home Assistant on a Pi.
- Prometheus scrapes the Pi, with uptime alerts and a Grafana dashboard. Grafana and Prometheus for homelab monitoring.
- An hourly job copies the sensor data into a data warehouse, kept for five years, so there’s a record across seasons rather than a dashboard that forgets.
- A USB webcam streams over the mesh into Home Assistant.
None of this is allotment-specific. Remote access through NAT, hardening, a message broker, monitoring and a data pipeline are the same skills you’d use for a branch office or a factory floor. The shed is just a cheap, unforgiving place to practise them.
It worked, for a bit
Then three things went wrong, in this order.
May: the camera ate the data allowance
The camera ran at 720p and 10 frames a second, which is about 15 GB a day if anything is watching it. Home Assistant’s “preload stream” option was keeping it open around the clock. That used 30 GB in 10 days, the SIM hit its cap and the Pi dropped off the network. That one was partly my fault.
The fix: 640×480 at 5 frames a second, a hard cap on the bitrate, and preload turned off. If you put a camera on a metered connection, check whether anything is holding the stream open.
The fibre went down at home
The carrier took the poles down on our road. The 4G router came home from the shed to keep the websites up, so the allotment went dark.
July: the rack fell off the wall
PLA starts to soften at around 60°C. On a hot day a shed passes that, the rack sagged, and the whole lot ended up on the floor. I’d already had the same thing happen to a print in a caravan, so this was the one anyone could have seen coming.
The retrieved rack is in the video: bent plastic and all.
What’s next: the rebuild
Episode 2 is the rebuild, and it’s coming back better:
- The rack reprinted in PETG, which holds up to the heat a shed reaches, unlike PLA.
- Off the USB stick and onto a 2.5-inch SSD. USB sticks aren’t built for a server’s constant writes.
- A bigger panel, so the power budget finally balances.
- The first real sensor: shed temperature and humidity on an ESP32.
After that come battery monitoring on the solar side and the soil and water sensors.
Skills this build uses
If you’re here for the skill rather than the shed, these are the topics it touches:
- Networking: carrier NAT, mesh VPN, keeping everything off the public internet
- Linux and security: SSH hardening, a default-deny firewall, fail2ban, automatic updates
- Automation and DevOps: Docker, MQTT, monitoring and alerts, a data pipeline
- Self-hosting: Home Assistant, Grafana, Prometheus, all running on hardware you own
Follow the build
The rebuild goes up as the next episode. Subscribe on YouTube to see it when it’s out, or get new builds by email and I’ll send you the write-up with it.
What would you monitor with a Pi in a shed in a field?

Enjoyed this guide?
New articles on Linux, homelab, cloud, and automation every 2 days. No spam, unsubscribe anytime.