TL;DR: Proxmox VE 9 is out with a modern kernel, cleaner tooling, and homelab-friendly improvements. This guide shows you how to upgrade in place from VE 8—focusing on no-subscription (free) repositories—so you keep your VMs and custom tweaks intact.
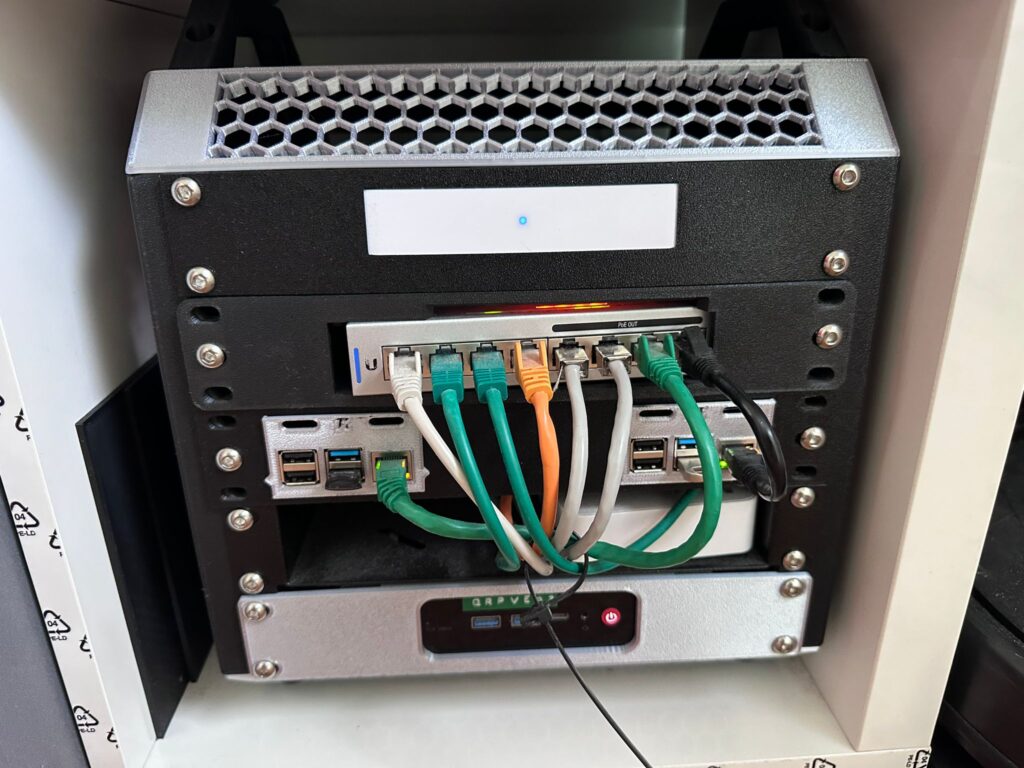
From the homelab: I have upgraded Proxmox in-place across my cluster multiple times. It is straightforward if you prepare properly, but skipping the preparation steps is how people lose VMs. Here is the process I follow every time.
Can You Upgrade Proxmox VE 8 to 9 In-Place? (Short Answer)
Yes. Proxmox VE 8 to 9 is a supported five-step in-place upgrade using the no-subscription repository: check Ceph compatibility if you use it, update fully on 8, switch repos, dist-upgrade, reboot. The pre-flight script below verifies disk headroom, repo state, and quorum before you commit.
Pre-Flight Check Script (Run This First)
Before touching anything, run this checks-only script on the node. It verifies disk headroom, repo sanity, pending updates, running guests, quorum, and recent backup evidence. It changes nothing.
Show the full script (copy-paste ready)
#!/usr/bin/env bash
# proxmox-upgrade-preflight.sh - ReadTheManual.co.uk
# Pre-flight checks before an in-place Proxmox VE or PBS major upgrade.
# READ THE FULL UPGRADE GUIDE FIRST. This script only checks; it changes nothing.
# Run as root on the node you plan to upgrade:  bash proxmox-upgrade-preflight.sh
set -u
pass=0; warn=0; fail=0
ok(){   echo "  [PASS] $1"; pass=$((pass+1)); }
wrn(){  echo "  [WARN] $1"; warn=$((warn+1)); }
bad(){  echo "  [FAIL] $1"; fail=$((fail+1)); }

echo "== Proxmox upgrade pre-flight (checks only, no changes) =="

# 1. root?
[ "$(id -u)" = "0" ] && ok "running as root" || bad "not root - run with sudo/root"

# 2. which product + version
if command -v pveversion >/dev/null 2>&1; then
  v=$(pveversion | head -1); ok "Proxmox VE detected: $v"
elif command -v proxmox-backup-manager >/dev/null 2>&1; then
  v=$(proxmox-backup-manager version 2>/dev/null | head -1); ok "PBS detected: $v"
else
  bad "neither pveversion nor proxmox-backup-manager found - is this a Proxmox node?"
fi

# 3. disk space (need comfortable headroom for a dist-upgrade)
for m in / /var; do
  availk=$(df -Pk "$m" 2>/dev/null | awk 'NR==2{print $4}')
  if [ -n "${availk:-}" ]; then
    availg=$((availk/1024/1024))
    if [ "$availk" -ge $((5*1024*1024)) ]; then ok "$m has ${availg}G free";
    elif [ "$availk" -ge $((2*1024*1024)) ]; then wrn "$m has only ${availg}G free - 5G+ recommended";
    else bad "$m has ${availg}G free - clear space before upgrading"; fi
  fi
done

# 4. repo sanity: enterprise repo without a subscription will 401 mid-upgrade
if grep -rqs "enterprise.proxmox.com" /etc/apt/sources.list /etc/apt/sources.list.d/ 2>/dev/null; then
  wrn "enterprise repo configured - fine WITH a subscription; otherwise switch to no-subscription first"
else
  ok "no enterprise repo configured (no-subscription path)"
fi

# 5. pending updates on the CURRENT release first
if apt-get -s upgrade 2>/dev/null | grep -q "^Inst"; then
  wrn "pending updates on current release - fully update BEFORE the major upgrade"
else
  ok "current release fully updated"
fi

# 6. running guests (VE only) - plan a window
if command -v qm >/dev/null 2>&1; then
  running=$(qm list 2>/dev/null | awk 'NR>1 && $3=="running"' | wc -l)
  ct=$(pct list 2>/dev/null | awk 'NR>1 && $2=="running"' | wc -l)
  [ "$((running+ct))" -gt 0 ] && wrn "$((running+ct)) guest(s) running - schedule a window or migrate first" || ok "no running guests"
fi

# 7. cluster quorum (VE clusters)
if command -v pvecm >/dev/null 2>&1 && pvecm status >/dev/null 2>&1; then
  pvecm status | grep -qi "quorate.*yes" && ok "cluster is quorate" || bad "cluster NOT quorate - do not upgrade"
fi

# 8. recent backup evidence
newest=$(find /var/log/vzdump -type f -mtime -7 2>/dev/null | head -1)
if [ -n "${newest:-}" ]; then ok "vzdump activity within 7 days"; else wrn "no vzdump logs in the last 7 days - take/verify backups first"; fi

echo ""
echo "== Result: $pass pass, $warn warn, $fail fail =="
[ "$fail" -gt 0 ] && echo "Fix every FAIL before upgrading. Read the guide for each WARN." || echo "No hard failures. Read the WARNs, take a fresh backup, then follow the guide."
More homelab tools like this in the RTM Toolbox.
What’s New in Proxmox VE 9
- Linux kernel 6.14 for better hardware support and performance.
- cgroup v2 only (legacy cgroup v1 is gone) for simpler, modern resource control.
- UI & API polish for faster, cleaner management.
- HA rules replace HA groups (after all nodes are on VE 9).
- pve-network-interface-pinning helps lock NIC names—handy for USB/odd NICs.
- Deb822 apt sources supported, plus
apt modernize-sources. - Improved Ceph integration (Ceph 19.2 “Squid”) for hyper-converged labs.
Why an In-Place Upgrade for Homelabs?
- No rebuilds: Keep all VMs/CTs and configs.
- Minimal downtime: One node reboots; everything else stays put.
- No spare hardware needed: Unlike fresh installs.
- Preserve tweaks: ZFS, networking, Ceph, and custom bits remain.
Prerequisites
- Backups (required): Snapshot/backup each VM/CT to external storage. Copy key configs from
/etc/pve,/etc/network/interfaces,/etc/ssh/sshd_config, etc. - Update to latest Proxmox VE 8.4 on the node you’ll upgrade:
apt update && apt dist-upgrade pveversion # should report ≥ 8.4.1 - Free space: ≥ 10 GB on root filesystem recommended.
- Stable access: Use console/IPMI/IKVM if possible. If SSH, run in
tmuxorscreen. - Healthy cluster: If clustered, ensure quorum/health.
Sanity Check: pve8to9
Run the Proxmox preflight script and fix reported items (re-run until clean):
pve8to9 --full
Optional: Move Critical Guests
If something must stay up, live-migrate or power down and move those VMs/CTs off the node. In mixed versions, operate from the node’s own GUI to avoid UI mismatches.
Step-by-Step: In-Place Upgrade (No-Subscription Repos)
1) Switch Debian to Trixie
sed -i 's/bookworm/trixie/g' /etc/apt/sources.list
Remove/disable any lingering Bookworm-only entries. If you previously had an enterprise repo file, remove it:
rm -f /etc/apt/sources.list.d/pve-enterprise.list
2) Add Proxmox VE 9 No-Subscription Repository
cat > /etc/apt/sources.list.d/pve-enterprise.sources << EOF
Types: deb
URIs: https://enterprise.proxmox.com/debian/pve
Suites: trixie
Components: pve-enterprise
Signed-By: /usr/share/keyrings/proxmox-archive-keyring.gpg
EOF
apt update
apt policy   # verify only intended repos appear; fix anything unexpected
3) (If Using Hyper-Converged Ceph) Add Ceph “Squid” No-Subscription Repo
Node must be on Ceph 19.2 Squid before upgrading Proxmox. Then:
cat > /etc/apt/sources.list.d/proxmox.sources << EOF
Types: deb
URIs: http://download.proxmox.com/debian/pve
Suites: trixie
Components: pve-no-subscription
Signed-By: /usr/share/keyrings/proxmox-archive-keyring.gpg
EOF
apt update
apt policy
4) Perform the Upgrade
apt dist-upgrade
- Approve/review config prompts. Defaults are generally safe. Consider:
/etc/issue→ keep current (cosmetic)/etc/lvm/lvm.conf→ maintainer version is fine unless you customized/etc/ssh/sshd_config→ maintainer version recommended to drop deprecated options/etc/default/grub→ if you customized, review carefully; otherwise keep current/etc/chrony/chrony.conf→ maintainer version OK if you didn’t customize
5) Re-Check & Reboot
pve8to9
reboot
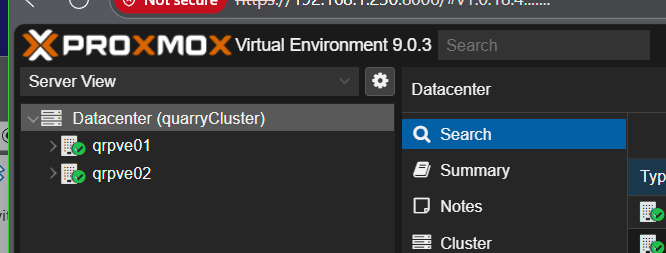
After reboot, hard-refresh the GUI (Ctrl+Shift+R / ⌘+Alt+R).
Post-Upgrade: Homelab-Friendly Tweaks
- Modernize apt sources (optional, converts to Deb822 and keeps
.bak):apt modernize-sources - Audit message noise during upgrade? You can stop it next time:
systemctl disable --now systemd-journald-audit.socket - UEFI + root on LVM/GRUB (ensure correct GRUB meta-package):
[ -d /sys/firmware/efi ] && apt install grub-efi-amd64 update-grub - Network interface name changes? Use the new helper to pin NIC names:
pve-network-interface-pinning
Heads-Up for Homelab Setups
- cgroup v1 removed: Very old container OS (e.g., CentOS 7, Ubuntu 16.04) won’t run. Migrate to supported base images.
- Mixed CPU models/vendors: Test live migration with a non-critical VM first.
- Third-party storage plugins: Ensure they’re updated for VE 9 before upgrading.
- Older hardware (>~10 years): Test VE 9 on similar kit if you rely on niche drivers.

Conclusion
That’s it—your homelab is now running Proxmox VE 9 without a rebuild. Enjoy the newer kernel, cleaner tooling, and a smoother management experience. If you hit anything odd, re-run pve8to9 --full, check your apt repos with apt policy, and verify network/boot configuration. Happy homelabbing!
The pre-flight script from this guide and all our other free tools (calculators, checklists, the homelab quiz) live in the RTM Toolbox.
Before You Start
Take a backup. Not just of your VMs — back up the Proxmox host configuration too. If the upgrade fails, you want to be able to restore the hypervisor itself, not just the workloads running on it.
I run my upgrades one node at a time in my cluster, migrating VMs off the target node first. If you only have a single node, schedule downtime and make sure your backups are tested (not just “I think they work” — actually restore one).
Post-Upgrade Checks
After the upgrade completes and the node reboots:
- Check all VMs and containers started correctly
- Verify network connectivity — bridge configs occasionally need attention after major upgrades
- Check storage mounts — ZFS pools, NFS mounts, local storage
- Run
pveversion -vto confirm the version - Check the web UI for any warnings or errors
Related Guides
If you found this useful, these guides continue the journey:
- Proxmox Installation Guide — starting from scratch
- PBS 4 Upgrade Guide — upgrade your backup server too
- Best Mini PCs for Proxmox — hardware recommendations
- Build Your First Homelab in 2026 — the complete guide

ReadTheManual is run, written and curated by Eric Lonsdale.
Eric has over 20 years of professional experience in IT infrastructure, cloud architecture, and cybersecurity, but started with PCs long before that.
He built his first machine from parts bought off tables at the local college campus, hoping they worked. He learned on BBC Micros and Atari units in the early 90s, and has built almost every PC he’s used between 1995 and now.
From helpdesk to infrastructure architect, Eric has worked across enterprise datacentres, Azure environments, and security operations. He’s managed teams, trained engineers, and spent two decades solving the problems this site teaches you to solve.
ReadTheManual exists because Eric believes the best way to learn IT is to build things, break things, and actually read the manual. Every guide on this site runs on infrastructure he owns and maintains.
Enjoyed this guide?
New articles on Linux, homelab, cloud, and automation every 2 days. No spam, unsubscribe anytime.