Want to build a homelab or run a serious Raspberry Pi project? Then ditch the SD cards and get ready to install Ubuntu Server onto a USB drive using Raspberry Pi Imager. Whether you’re building a multi-node Pi cluster (like we are), running self-hosted apps, or connecting to Azure — this is step one.
This guide works for Raspberry Pi 4 and 5, using either USB sticks or SD cards (just make sure you’ve got the right adapters). Let’s get into it.
🧰 What You’ll Need
- Raspberry Pi 4 or 5
- A 32GB (or larger) USB stick (or SD card with reader)
- Raspberry Pi Imager (free from raspberrypi.com)
- A laptop or desktop to run the Imager
- Your Wi-Fi SSID & password (if using wireless)
- A hostname and password you want to use
📥 Step 1: Open Raspberry Pi Imager
After downloading and opening Raspberry Pi Imager:
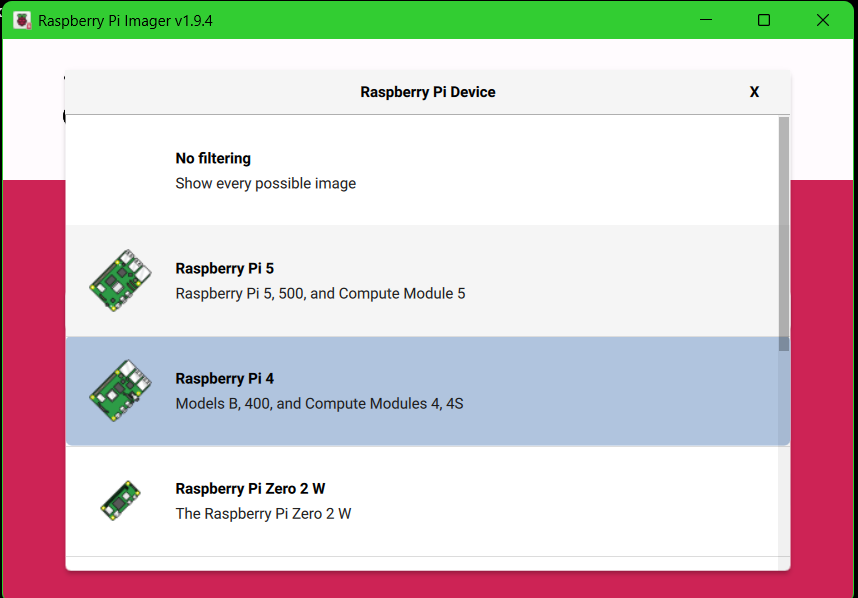
- Click “Choose Device” and select your model (we’re using Raspberry Pi 4).
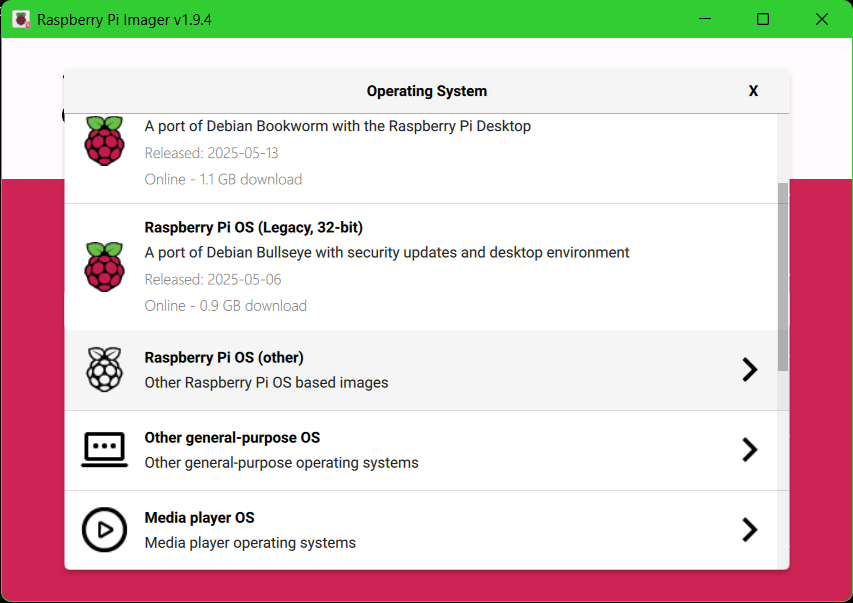
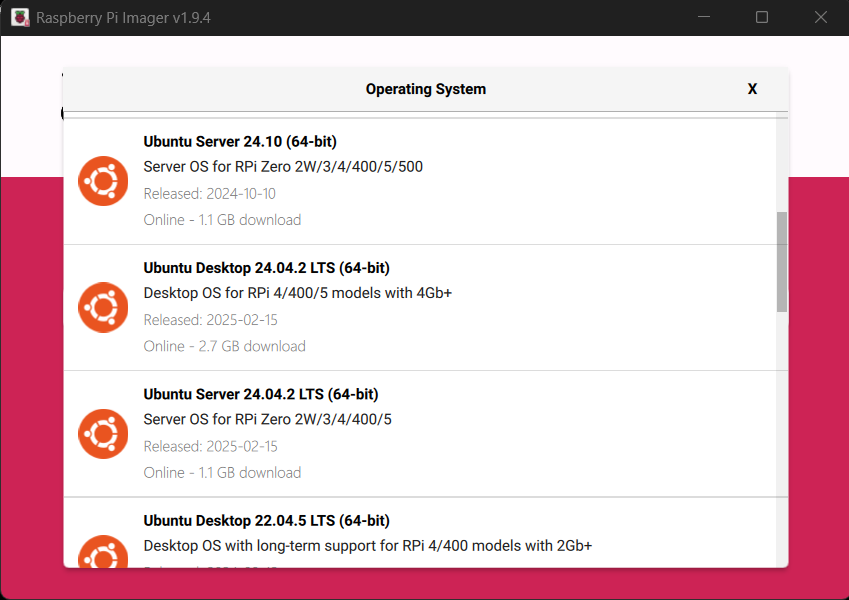
- Click “Choose OS”
- Scroll to “Other general purpose OS”
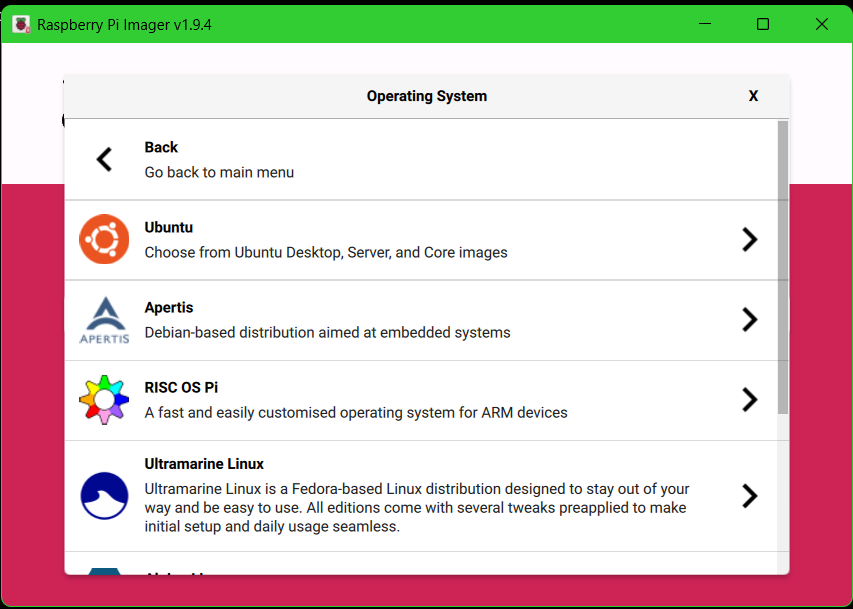
- Choose “Ubuntu”, then find Ubuntu Server 24.04 LTS (64-bit)
- Why this version? It’s the latest Azure-supported release, perfect if you’re planning to use Azure Arc or other Microsoft integrations.
- If you’re not using Azure, feel free to choose the most recent version listed.
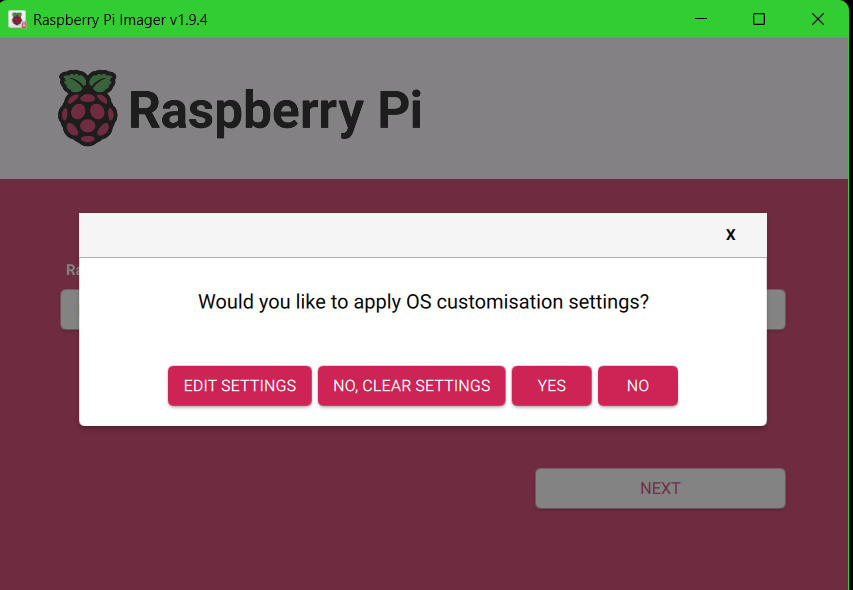
⚙️ Step 2: Set Up Advanced Configuration
When you hit image, you;’ll be asked about advanced options before imaging.
Here’s what to configure:
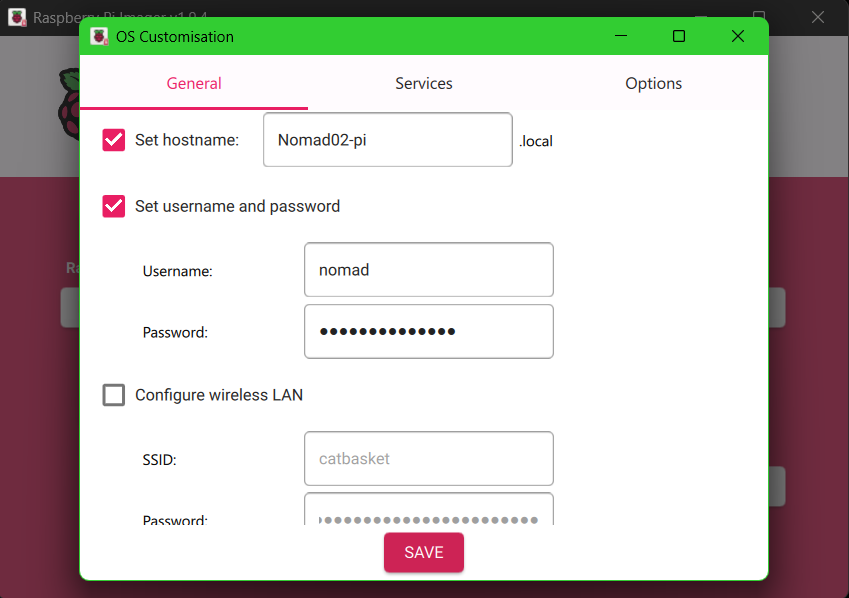
Note: It’s no longer pi by default — this improves security.
Set a hostname (e.g. pi-node-1)
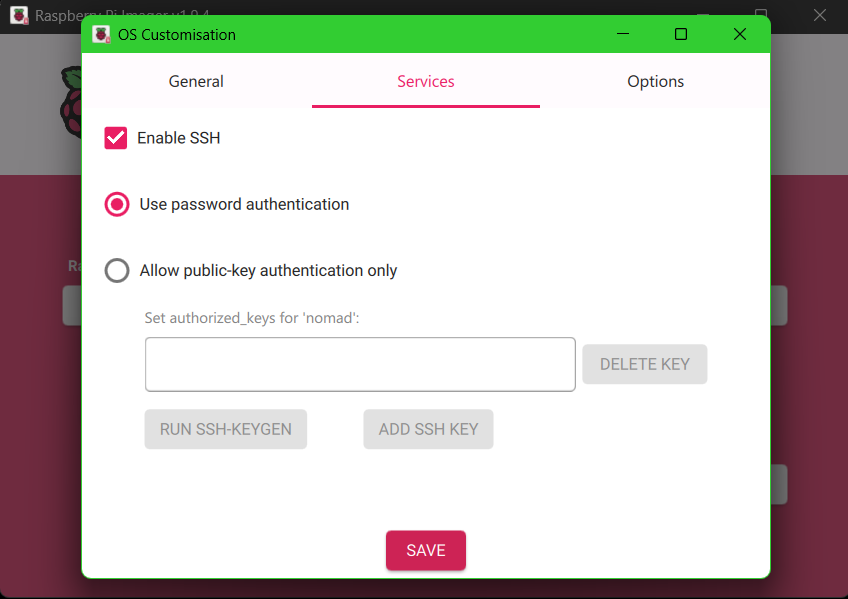
Enable SSH for remote access
Set Wi-Fi SSID and password (optional if using Ethernet)
Set a custom username and password
💾 Step 3: Image Your USB (or SD Card)
- Click “Choose Storage” and select your USB stick
- Hit “Write”
- Accept any prompts about data being erased
- Sit back for a couple of minutes (1–5 mins depending on your PC speed)
🎉 That’s it — once it’s done, eject the drive and plug it into your Raspberry Pi.

✅ Final Step: Boot Your Pi
Plug in your imaged USB (or SD card) and power on your Pi.
- If your config had SSH enabled, you’re ready to log in remotely.
- If you used Wi-Fi, give it a minute to connect before trying SSH.
- You’ll now have a clean, lightweight Ubuntu Server install — ready to build, host, automate, or join your cluster!

📦 Bonus: Why USB Over SD?
USB drives are generally faster, more durable, and better for long-term use — especially in clusters or server-like environments. They also make it easier to move configurations around or reuse devices for other projects.
🔗 Links & Resources
- 🛒 Pi Cluster Shopping List
- 🔐 Coming soon: Azure Arc setup guide
- Raspberry Pi Imager (free Download)
- Ubuntu Repo
Ready for the next step? Subscribe or follow along — we’re building real tech skills one Pi at a time.
Your lab. Your rules.
#ReadTheManual #RaspberryPi #UbuntuServer #HomeLab #PiCluster #SelfHosted #Linux #Automation #TechLearning #AzureArc