Most families keep their history in one house, in one copy. Photographs, certificates, letters, the odd service record. No backup, no index, and no particular plan for any of it.
Ours is being digitised at the moment, which meant deciding where it should actually live. The default answer is Ancestry or MyHeritage: scan it, upload it, pay monthly, get a decent app out of it. The less obvious part of that arrangement is that you supply the one dataset in your life that cannot be recreated, and what you get back is a view of it for as long as you keep paying.
This guide is the other option. Gramps Web is the web front end and REST API for Gramps, the open source genealogy platform that has been going since 2001. It is AGPL licensed, it runs in Docker, and it is comfortable on a Raspberry Pi 5 or a second hand mini PC. This part covers the base install: containers, first boot, importing your data, putting it behind TLS, and backing it up properly.
Career Context: This is not a toy deployment. You are running a multi-container application with a web tier, a Celery worker, a Valkey broker, eight named volumes, a container healthcheck gating startup order, a reverse proxy with TLS, and SMTP for account flows. That is the same shape as most internal line-of-business apps you will meet in a real job. If you have ever been asked in an interview to describe a Docker Compose stack you have actually operated, including how you handled a startup race and how you back up state, this build answers it end to end. Container orchestration and backup design sit under Platform Engineer and SRE roles in the £50-80k band.
What you actually get
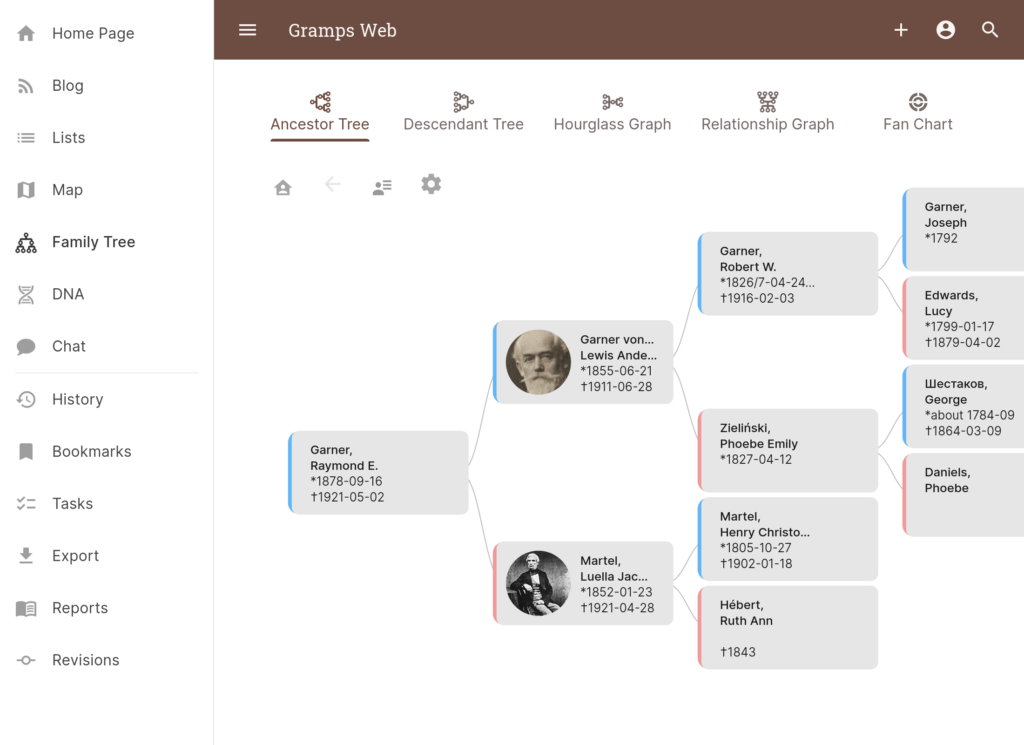
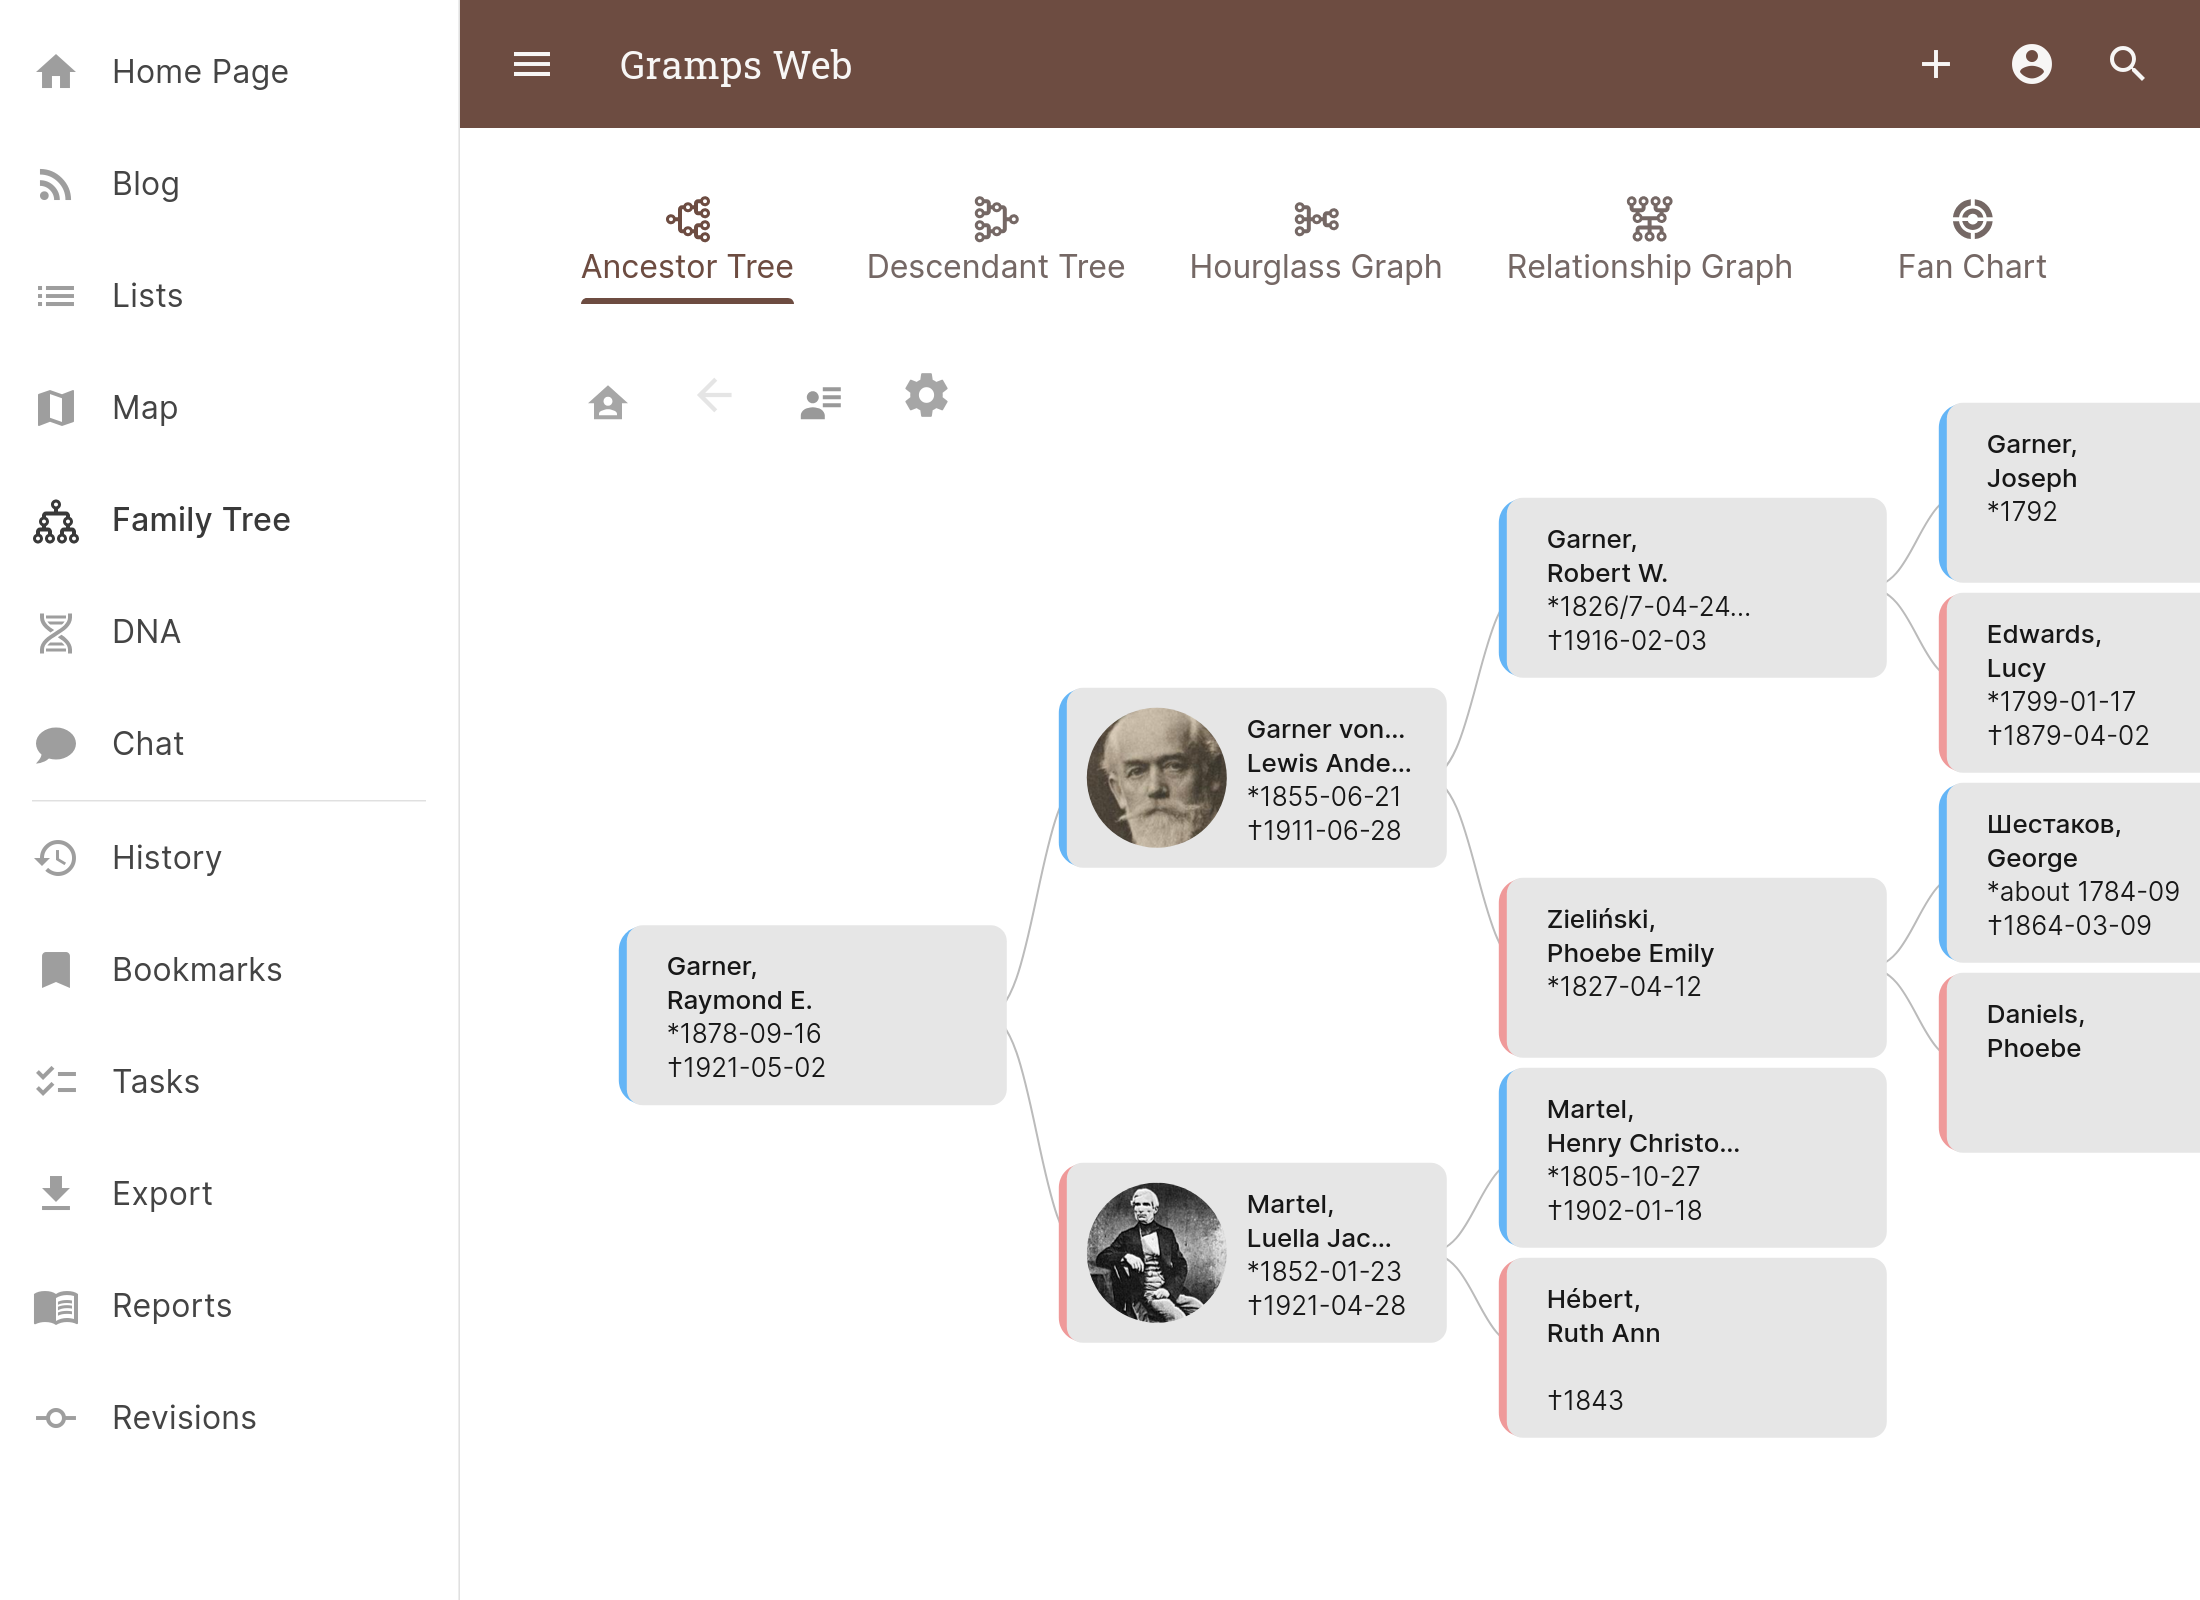
Gramps Web gives you a browsing and editing interface over a Gramps family tree, multi-user accounts with roles, media handling for scans, GEDCOM import and export, a full REST API, and a large report catalogue inherited from the desktop application.
What it does not give you is the thing the commercial platforms sell hardest: matching against everybody else’s tree. Ancestry’s real product is the network effect of millions of uploaded trees and indexed record sets. You cannot reproduce that at home and you should not pretend otherwise. Plenty of people run both, doing their research on a subscription platform and keeping the authoritative copy at home. That is a perfectly sensible arrangement.
What you get instead is ownership. The database, the scans, the notes and the sources are files on a disk you control, in documented open formats, exportable at any time, with no monthly bill deciding whether you can still see them.
What you are actually paying for
Worth separating two things that get billed as one. Digitising and indexing parish registers, census returns and military records is real work, done by real people, and it costs real money. Storing the tree you built yourself is not.
A UK subscription that covers the record sets most people need runs to roughly £140 a year, and it does not stop. Cancel it and the records you uploaded are still on the platform. You are the one who is gone. That is the bit worth pushing back on, and it is separate from whether the indexing is worth paying for, which it is.
My position, for what it is worth: pay for access to their work, not for storage of mine. That means credits and pay as you go where a provider offers it, alongside FamilySearch, which is free. Go in, take what is needed, keep it here, drop off again. The subscription becomes a tool you pick up for a fortnight of research rather than a standing charge on your own archive.
The privacy side deserves stating plainly too, because it rarely gets said out loud. A family tree is close to a perfect identity dataset: maiden names, dates and places of birth, relationships, previous addresses. That is most of a bank’s security question set. Add a DNA product and the information stops being only yours, because it describes relatives who never agreed to anything and cannot withdraw it. None of that makes the commercial platforms villains. It does make “where does this live” a decision worth taking deliberately rather than by default.
Hardware and OS
The image is published for both amd64 and arm64, so a 64-bit Pi and a mini PC are both first class targets. Verified against the current release at the time of writing (26.7.0).
- Raspberry Pi 5, 8GB: fine for a family sized tree. Use NVMe or a decent SSD over USB. An SD card will corrupt itself under database writes eventually, and this is not the dataset you want to learn that lesson on.
- Mini PC (N100 class, 16GB): around £150 second hand and a better bet if you later want the local AI layer, which is memory hungry.
- OS: Ubuntu Server 24.04 LTS, 64-bit. Debian 12 works identically.
- Storage: the tree itself is tiny, a few tens of megabytes. Scanned media is what grows. Budget 50GB minimum and plan for where the next disk goes before you need it.
- Memory: the base stack sits comfortably under 1GB. Leave headroom if you intend to add the AI layer later, where the embedding model alone costs roughly 500MB resident and closer to 1GB while indexing.
Step 1: Install Docker
Use Docker’s own repository rather than the distro package, so you get the current Compose plugin.
sudo apt update && sudo apt install -y ca-certificates curl
sudo install -m 0755 -d /etc/apt/keyrings
sudo curl -fsSL https://download.docker.com/linux/ubuntu/gpg -o /etc/apt/keyrings/docker.asc
sudo chmod a+r /etc/apt/keyrings/docker.asc
echo "deb [arch=$(dpkg --print-architecture) signed-by=/etc/apt/keyrings/docker.asc] \
  https://download.docker.com/linux/ubuntu $(. /etc/os-release && echo $VERSION_CODENAME) stable" \
  | sudo tee /etc/apt/sources.list.d/docker.list > /dev/null
sudo apt update
sudo apt install -y docker-ce docker-ce-cli containerd.io docker-buildx-plugin docker-compose-plugin
sudo usermod -aG docker $USER
newgrp docker
Check it with docker compose version. If that errors, you have the old standalone docker-compose binary and the syntax below will not work.
Step 2: The Compose file
Three containers: the web app, a Celery worker that handles background jobs like search indexing and media processing, and Valkey as the broker between them. Create ~/gramps/docker-compose.yml.
services:
  grampsweb: &grampsweb
    image: ghcr.io/gramps-project/grampsweb:latest
    container_name: grampsweb
    restart: unless-stopped
    ports:
      - "8080:5000"
    environment:
      GRAMPSWEB_TREE: "MyFamily"
      # Must match the public URL exactly, or generated links and media
      # references break the moment you put a proxy in front of it.
      GRAMPSWEB_BASE_URL: "https://family.example.com"
      GRAMPSWEB_CELERY_CONFIG__broker_url: "redis://grampsweb_redis:6379/0"
      GRAMPSWEB_CELERY_CONFIG__result_backend: "redis://grampsweb_redis:6379/0"
      GRAMPSWEB_RATELIMIT_STORAGE_URI: "redis://grampsweb_redis:6379/1"
      # Telemetry is opt-OUT. Left at its default the app posts to a hosted
      # endpoint. Lower case "true" is deliberate: config values are parsed as
      # JSON, so "true" becomes a real boolean and "True" stays a string.
      GRAMPSWEB_DISABLE_TELEMETRY: "true"
    depends_on:
      - grampsweb_redis
    # Both containers run the same database migration at startup against the
    # same SQLite users DB. depends_on alone only waits for the container to
    # START, so on first boot they race. This gate makes the worker wait for
    # the migration to FINISH. The image ships no curl or wget, so the check
    # uses the bundled Python; a healthcheck calling a missing binary sits
    # permanently red, which is worse than having no check at all.
    healthcheck:
      test: ["CMD", "/venv/bin/python3", "-c",
             "import urllib.request; urllib.request.urlopen('http://localhost:5000/')"]
      interval: 15s
      timeout: 10s
      retries: 20
      start_period: 60s
    volumes:
      - gramps_users:/app/users
      - gramps_index:/app/indexdir
      - gramps_thumb_cache:/app/thumbnail_cache
      - gramps_cache:/app/cache
      - gramps_secret:/app/secret
      - gramps_db:/root/.gramps/grampsdb
      - gramps_media:/app/media
      - gramps_tmp:/tmp

  grampsweb_celery:
    <<: *grampsweb
    container_name: grampsweb_celery
    ports: []
    # Celery serves no HTTP, so it must not inherit the web healthcheck or it
    # will report unhealthy forever.
    healthcheck:
      disable: true
    depends_on:
      grampsweb:
        condition: service_healthy
      grampsweb_redis:
        condition: service_started
    command: celery -A gramps_webapi.celery worker --loglevel=INFO --concurrency=2

  grampsweb_redis:
    image: docker.io/valkey/valkey:8-alpine
    container_name: grampsweb_redis
    restart: unless-stopped

volumes:
  gramps_users:
  gramps_index:
  gramps_thumb_cache:
  gramps_cache:
  gramps_secret:
  gramps_db:
  gramps_media:
  gramps_tmp:
The YAML anchor (&grampsweb and <<: *grampsweb) means the worker inherits the web container’s image, environment and volumes, then overrides what differs. Both processes need the same configuration and the same data, so duplicating thirty lines is how the two drift apart three months later.
Bring it up:
cd ~/gramps
docker compose up -d
docker compose logs -f grampsweb
The startup race is real. Without that healthcheck gate, first boot fails perhaps one time in three with table oidc_accounts already exists, because both containers run the migration simultaneously. It looks like a corrupt install and it is not. If you copy the upstream example compose file rather than this one, this is the failure you will hit.
Step 3: First boot and the single tree trap
Browse to http://your-server-ip:8080 and create the owner account. Setting GRAMPSWEB_TREE puts the install in single tree mode, which is what you want for a family archive: the tree is created for you on first start and there is nothing to create by hand.
Anything in the interface offering to create a tree is a multi-tenant feature, and taking it gives you:
not available in single tree setupThat error is real but misleading. The tree exists. What has happened is that the owner account was created with its tree column left empty, so the front end concludes no tree exists and offers to make one. Upstream ships a command for exactly this:
S=$(docker exec grampsweb cat /app/secret/secret)

# list trees to get the ID
docker exec -e GRAMPSWEB_SECRET_KEY="$S" grampsweb \
  /venv/bin/python3 -m gramps_webapi tree list

# point every user with no tree at it
docker exec -e GRAMPSWEB_SECRET_KEY="$S" grampsweb \
  /venv/bin/python3 -m gramps_webapi user fill-tree <TREE_ID>
Every gramps_webapi command needs GRAMPSWEB_SECRET_KEY or it exits with ValueError: SECRET_KEY must be specified. The secret lives in the gramps_secret volume, which is why the commands above read it out first.
Step 4: Get your data in
If you already have a tree anywhere else, export it as GEDCOM and import it under Administration, then Import. Every commercial platform exports GEDCOM, and that portability is the reason to insist on it: a format that every tool reads is what makes leaving possible.
Two things worth knowing before you import:
- GEDCOM is lossy across platforms. Sources, citations and custom fields survive unevenly. Import into a test tree first and spot check the people you know best.
- Media does not travel inside the file. GEDCOM carries file references, not images. Copy the scans into the
gramps_mediavolume separately and expect to fix paths.
Starting from nothing, add yourself, then work outwards. It is slower but the data quality is far better, because you are entering what a source actually says rather than inheriting somebody else’s guesses.
Step 5: TLS and the reverse proxy
Do not expose port 8080 to the internet. Put a reverse proxy in front, terminate TLS there, and make GRAMPSWEB_BASE_URL match the public URL exactly. Get that wrong and the symptom is odd: the site loads, but generated links and media references point at the wrong host.
Caddy is the shortest path, since it handles certificates on its own:
family.example.com {
    reverse_proxy localhost:8080
}
Nginx with Certbot works equally well if that is what you already run. Either way, set client_max_body_size generously (or Caddy’s equivalent) before you upload a batch of 40MB scans.
Think carefully about whether this should be on the public internet at all. A family archive is not a blog. It contains dates of birth, maiden names, addresses and relationships for people who are still alive, which is a fair proportion of the standard identity verification question set. Running it on a mesh VPN such as Tailscale, Netbird or WireGuard, reachable only by the handful of relatives who need it, is a legitimate design choice and probably the right one. Add a firewall regardless.
If you do want it reachable from anywhere without opening a port on your router, a Cloudflare Tunnel is the cleanest way to do it. Full walkthrough here: How to Set Up Cloudflare Tunnels on Debian.
Do not stop at the tunnel. A tunnel makes a service reachable. It does not protect it. Left there, you have published your family’s records to the entire internet with nothing in front of them but a login form, and login forms get found, scanned and brute forced within hours of a hostname appearing in certificate transparency logs.
Put a Cloudflare Access policy on the hostname as well, in the same Zero Trust dashboard you created the tunnel in. Access authenticates at Cloudflare’s edge, so an unauthenticated request never reaches your box at all. For a handful of relatives, a policy allowing a named list of email addresses with one-time PIN login takes about five minutes and needs no accounts, no directory and no extra software. The tunnel guide above covers getting traffic through; this is the layer that decides who gets to use it.
Cloudflare’s own documentation for the two steps: publish a self-hosted application, which is where you attach the hostname to an Access application, and Access policies, which is the allow or block logic itself. Build the policy before you tell anybody the address.
Step 6: Email, for invites and password resets
Optional, and skip it if you are the only user. User invitations, registration confirmations and password resets all need SMTP. Any provider works.
GRAMPSWEB_EMAIL_HOST: "smtp.example.com"
GRAMPSWEB_EMAIL_PORT: "465"
GRAMPSWEB_EMAIL_USE_SSL: "True"
GRAMPSWEB_EMAIL_HOST_USER: "[email protected]"
GRAMPSWEB_EMAIL_HOST_PASSWORD: "app-password-here"
GRAMPSWEB_DEFAULT_FROM_EMAIL: "[email protected]"
If you would rather not hand account emails to a provider at all, you can run the mail server too. That is a bigger project than this one, but the guide is here: How to Set Up Your Own Email Server with Mailcow. If you are already self-hosting mail, point Gramps Web at it and you have removed the last third party from this stack.
Port 465 is implicit SSL and needs EMAIL_USE_SSL. Port 587 needs EMAIL_USE_STARTTLS instead. EMAIL_USE_TLS is deprecated and will waste an evening. One more trap if you run your own mail server: the hostname must match the certificate’s SAN. An alias that resolves to the same box but is not on the certificate fails validation, and the error points at authentication rather than at the name.
Step 7: Backups, which are the entire point
You have just made yourself the custodian of the only copy. Self-hosting without a tested backup is worse than the subscription you were avoiding, because at least Ancestry has a storage team.
Three volumes matter:
gramps_db: the family tree databasegramps_media: the scans, which is nearly all of the sizegramps_users: accounts and roles
Belt and braces is a volume backup plus a portable export. The export is the one that survives a future where this software no longer exists:
# portable export from the interface: Administration -> Export -> Gramps XML (.gramps)
# then back up the volumes underneath

docker compose stop
for v in gramps_db gramps_media gramps_users; do
  docker run --rm -v ${v}:/data -v $(pwd)/backup:/backup alpine \
    tar czf /backup/${v}-$(date +%F).tar.gz -C /data .
done
docker compose start
Send those off the box, at least one copy off site, and restore one into a scratch container occasionally. An untested backup is a belief, not a backup.
Add-ons live in a directory the image owns. Gramps add-ons install into /root/gramps/gramps60/plugins, which is a plain directory inside the image. Install any and they vanish the next time the container is recreated. If you want them, mount a named volume at that path. The trade-off is that the volume then shadows the image, so a future image that updates the bundled add-ons will not reach them, and you re-run the installer after a major version bump.
Lessons learned
- The first boot race cost more time than the whole rest of the install. The error looked like a corrupt database and was a startup ordering problem, which is the most common shape of Docker Compose bug in any stack with a worker process.
- A healthcheck that calls a binary the image does not ship is worse than none. It sits red forever and trains you to ignore the health column, which is exactly when it matters.
- Opt-out telemetry is worth checking for in anything you self-host. Nobody hides it, but the default is what ships, and defaults are what most people run.
- Media is the growth vector, not the database. The tree is megabytes. The scans are tens of gigabytes and grow every time somebody empties another drawer. Decide where the next disk comes from at build time.
Career application
This is a small build that demonstrates several things interviewers actually probe for. You handled a container startup race with a healthcheck gate rather than a sleep. You know why a worker must not inherit a web healthcheck. You designed backups around what is irreplaceable rather than backing up everything indiscriminately. You made a considered exposure decision about personal data instead of putting it on the internet by default.
That last one carries further than it looks. Any conversation about data classification, retention or minimisation is easier to have when you have made those calls on something you care about. “I run a private archive of my family’s records, here is how I decided what goes on the internet and what does not” is a better answer than any certification bullet point.
Next steps
This is part one of three. The base install is the easy part.
- Part 2, the scanning pipeline: getting boxes of photographs in at a sensible resolution, naming that survives, and the handwriting on the backs, which is where most of the actual information lives.
- Part 3, the local AI layer: semantic search and chat across the tree with embeddings generated on the box and the language model running on your own GPU, so nothing leaves the network. Including the failure mode that matters: a model that returns the correct relationship and then narrates a wrong path to it. Trust the label, check the path.
Resources
RTFM Apparel · printed in the UK


ReadTheManual is run, written and curated by Eric Lonsdale.
Eric has over 20 years of professional experience in IT infrastructure, cloud architecture, and cybersecurity, but started with PCs long before that.
He built his first machine from parts bought off tables at the local college campus, hoping they worked. He learned on BBC Micros and Atari units in the early 90s, and has built almost every PC he’s used between 1995 and now.
From helpdesk to infrastructure architect, Eric has worked across enterprise datacentres, Azure environments, and security operations. He’s managed teams, trained engineers, and spent two decades solving the problems this site teaches you to solve.
ReadTheManual exists because Eric believes the best way to learn IT is to build things, break things, and actually read the manual. Every guide on this site runs on infrastructure he owns and maintains.
Enjoyed this guide?
New articles on Linux, homelab, cloud, and automation every 2 days. No spam, unsubscribe anytime.