Nobody needs an RMM in a homelab. I run one anyway. This guide covers the deployment with Docker Compose, agent rollout with Ansible, and the two gotchas that cost me hours so they don’t cost you any.
What is NetLock RMM?
NetLock RMM is a remote monitoring and management platform from 0x101 Cyber Security, a German developer, and one of very few RMM options you can self-host. RMM is the tool category MSPs live in: agents on every endpoint, a central console for inventory, monitoring, policies, patching, software deployment and remote access. The commercial names here are platforms like SuperOps, Datto RMM and NinjaOne, all cloud-hosted, all priced per endpoint, and none of them yours.
NetLock is the other way round. It runs on your hardware, the data stays in your MySQL database, and it sits on the same shelf as Nextcloud and the other European, privacy-focused services this site keeps coming back to. It is under active development. Features arrive steadily, and that pace has a sting in the tail, which is gotcha 2 below.
Why run one at home at all? Curiosity, mostly, plus a conviction that if you work in or around managed IT services, an RMM you can break is worth more than a certification about one. Mine is becoming the estate-management layer under a self-hosted AI helpdesk project, wired to a GLPI service desk through n8n and agent automation. That is a future post.
Architecture
The self-hosted deployment is three containers, plus one optional:
- MySQL 8.0 holds everything.
- Web console is the UI you log into.
- Server does the agent communication, updates, file delivery and remote sessions on port 7080.
- Watchtower (optional) auto-updates the containers.
The console and server each read a mounted appsettings.json. Agents on your endpoints talk to the server component; your browser talks to the console; both can sit behind a reverse proxy.
One deployment decision worth copying: my instance shares a host with other security services that already own ports 80 and 443, so the console maps to a high port (8001) and the reverse proxy on another box handles TLS and the public hostname. NetLock supports this cleanly with PublicOverrideUrl and KnownProxies.
Before you start: the free activation code
Self-hosted does not mean no vendor account. NetLock is licensed through its members portal: you register a free account on NetLock’s site, and it issues the activation key that goes into the Members_Portal_Api block of both appsettings.json files below. Your instance validates that key against NetLock’s servers, so licensing is the one part of this stack that is not fully offline. The data plane, meaning your devices, inventory, tickets and history, stays entirely in your own MySQL database.
The members portal is also where the all-in-one builder lives, which generates the whole stack below pre-filled with your key. Sort the account first; nothing enrols without it.
Deployment
NetLock’s members portal has an all-in-one builder that generates this stack for you, and it is the sane starting point. What follows is that output, adjusted for a shared host and with secrets as placeholders. Change every CHANGE_ME.
Directory layout first:
sudo mkdir -p /home/netlock/mysql/data
sudo mkdir -p /home/netlock/certificates
sudo mkdir -p /home/netlock/web_console/{internal,logs}
sudo mkdir -p /home/netlock/server/{internal,logs,files}
The console’s appsettings.json (/home/netlock/web_console/appsettings.json), trimmed to the parts you need to think about:
{
  "Kestrel": {
    "Endpoint": {
      "Http": { "Enabled": true, "Port": 80 },
      "Https": { "Enabled": false, "Port": 443 }
    },
    "IpWhitelist": [],
    "KnownProxies": ["YOUR_REVERSE_PROXY_IP"]
  },
  "NetLock_Remote_Server": { "Server": "netlock-rmm-server", "Port": 7080, "UseSSL": false },
  "NetLock_File_Server":   { "Server": "netlock-rmm-server", "Port": 7080, "UseSSL": false },
  "MySQL": {
    "Server": "mysql", "Port": 3306,
    "Database": "netlock", "User": "root",
    "Password": "CHANGE_ME_STRONG_PASSWORD",
    "SslMode": "None",
    "AdditionalConnectionParameters": "AllowPublicKeyRetrieval=True;"
  },
  "Webinterface": {
    "Title": "NetLock RMM",
    "Language": "en-US",
    "PublicOverrideUrl": "https://rmm.example.com"
  },
  "Members_Portal_Api": {
    "Enabled": true,
    "ApiKeyOverride": "CHANGE_ME_MEMBERS_PORTAL_KEY"
  }
}
TLS terminates at my reverse proxy, so HTTPS stays off in Kestrel and KnownProxies names the proxy. If you expose the console directly instead, enable the HTTPS endpoint and give it a certificate, and consider IpWhitelist.
The server component’s appsettings.json (/home/netlock/server/appsettings.json) follows the same pattern: HTTP on 7080, the same MySQL block, the same members-portal key, and a Roles block that enables Comm, Update, Trust, Remote, Notification, File and LLM roles (LLM is the server side of the AI assistant, covered further down), plus "Environment": { "Docker": true }.
Then the compose file (/home/netlock/docker-compose.yml):
services:
  mysql:
    image: mysql:8.0
    container_name: mysql
    environment:
      MYSQL_ROOT_PASSWORD: "CHANGE_ME_STRONG_PASSWORD"
      MYSQL_DATABASE: "netlock"
    volumes:
      - /home/netlock/mysql/data:/var/lib/mysql
      - /etc/localtime:/etc/localtime:ro
    networks: [netlock-network]
    restart: always
    command:
      - --skip-log-bin
      - --innodb_buffer_pool_size=1G
      - --innodb_log_file_size=256M
      - --innodb_flush_log_at_trx_commit=2
      - --max_connections=200

  netlock-rmm-web-console:
    image: nicomak101/netlock-rmm-web-console:latest
    container_name: netlock-rmm-web-console
    environment: [TZ=Europe/London]
    volumes:
      - '/home/netlock/web_console/appsettings.json:/app/appsettings.json'
      - '/home/netlock/web_console/internal:/app/internal'
      - '/home/netlock/web_console/logs:/var/0x101 Cyber Security/NetLock RMM/Web Console/'
      - '/home/netlock/certificates:/app/certificates'
      - /etc/localtime:/etc/localtime:ro
    networks: [netlock-network]
    ports: ['8001:80']
    restart: always
    depends_on: [mysql]

  netlock-rmm-server:
    image: nicomak101/netlock-rmm-server:latest
    container_name: netlock-rmm-server
    environment: [TZ=Europe/London]
    volumes:
      - '/home/netlock/server/appsettings.json:/app/appsettings.json'
      - '/home/netlock/server/internal:/app/internal'
      - '/home/netlock/server/files:/app/www/private/files'
      - '/home/netlock/server/logs:/var/0x101 Cyber Security/NetLock RMM/Server/'
      - '/home/netlock/certificates:/app/certificates'
      - /etc/localtime:/etc/localtime:ro
    networks: [netlock-network]
    ports: ['7080:7080']
    restart: always
    depends_on: [mysql]

networks:
  netlock-network:
    driver: bridge
Bring it up, give it time on first boot, then log in and change the default admin credentials immediately:
docker compose -f /home/netlock/docker-compose.yml up -dOptionally, Watchtower to keep the images current:
docker run -d --name watchtower \
  -v /var/run/docker.sock:/var/run/docker.sock \
  --restart unless-stopped \
  nickfedor/watchtower --interval 900
Auto-updating a product in active development is a choice, not a default. I do it, it has been fine, and it is also half the setup for the second gotcha below.
Rolling out agents
Agents are downloaded from your own console: Devices, Add Device, pick the platform, download the installer. Installing by hand on two machines is fine; across an estate it wants automation. I push mine with an Ansible playbook that copies the installer, runs it, and checks the three systemd services that should result:
netlock-rmm-agent-commnetlock-rmm-agent-healthnetlock-rmm-agent-remote
A presence check on /etc/systemd/system/netlock-rmm-agent-comm.service makes the playbook idempotent, and a force-update tag re-runs the installer over an existing agent when you want to move versions. ARM devices (Raspberry Pis) need the ARM64 build of the installer, which NetLock supports natively, so detect architecture, keep both installers to hand, and run a 64-bit OS on your Pis.
Gotcha 1: trailing spaces break agent enrolment. The agent’s server configuration is pasted from the console, and a trailing space on the server address makes enrolment fail with nothing useful to tell you why. If an agent installs cleanly but never appears in the console, check the config for invisible whitespace before you check anything else. This one cost me hours on the original deployment late last year.
After the install: switch things on
A fresh NetLock install is deliberately quiet. Some of the platform is off until you turn it on, and some of it waits for an action rather than a schedule. Three examples from my own setup:
- The ticket system is a full service desk (queues, SLAs, time tracking, departments) behind a single settings toggle.
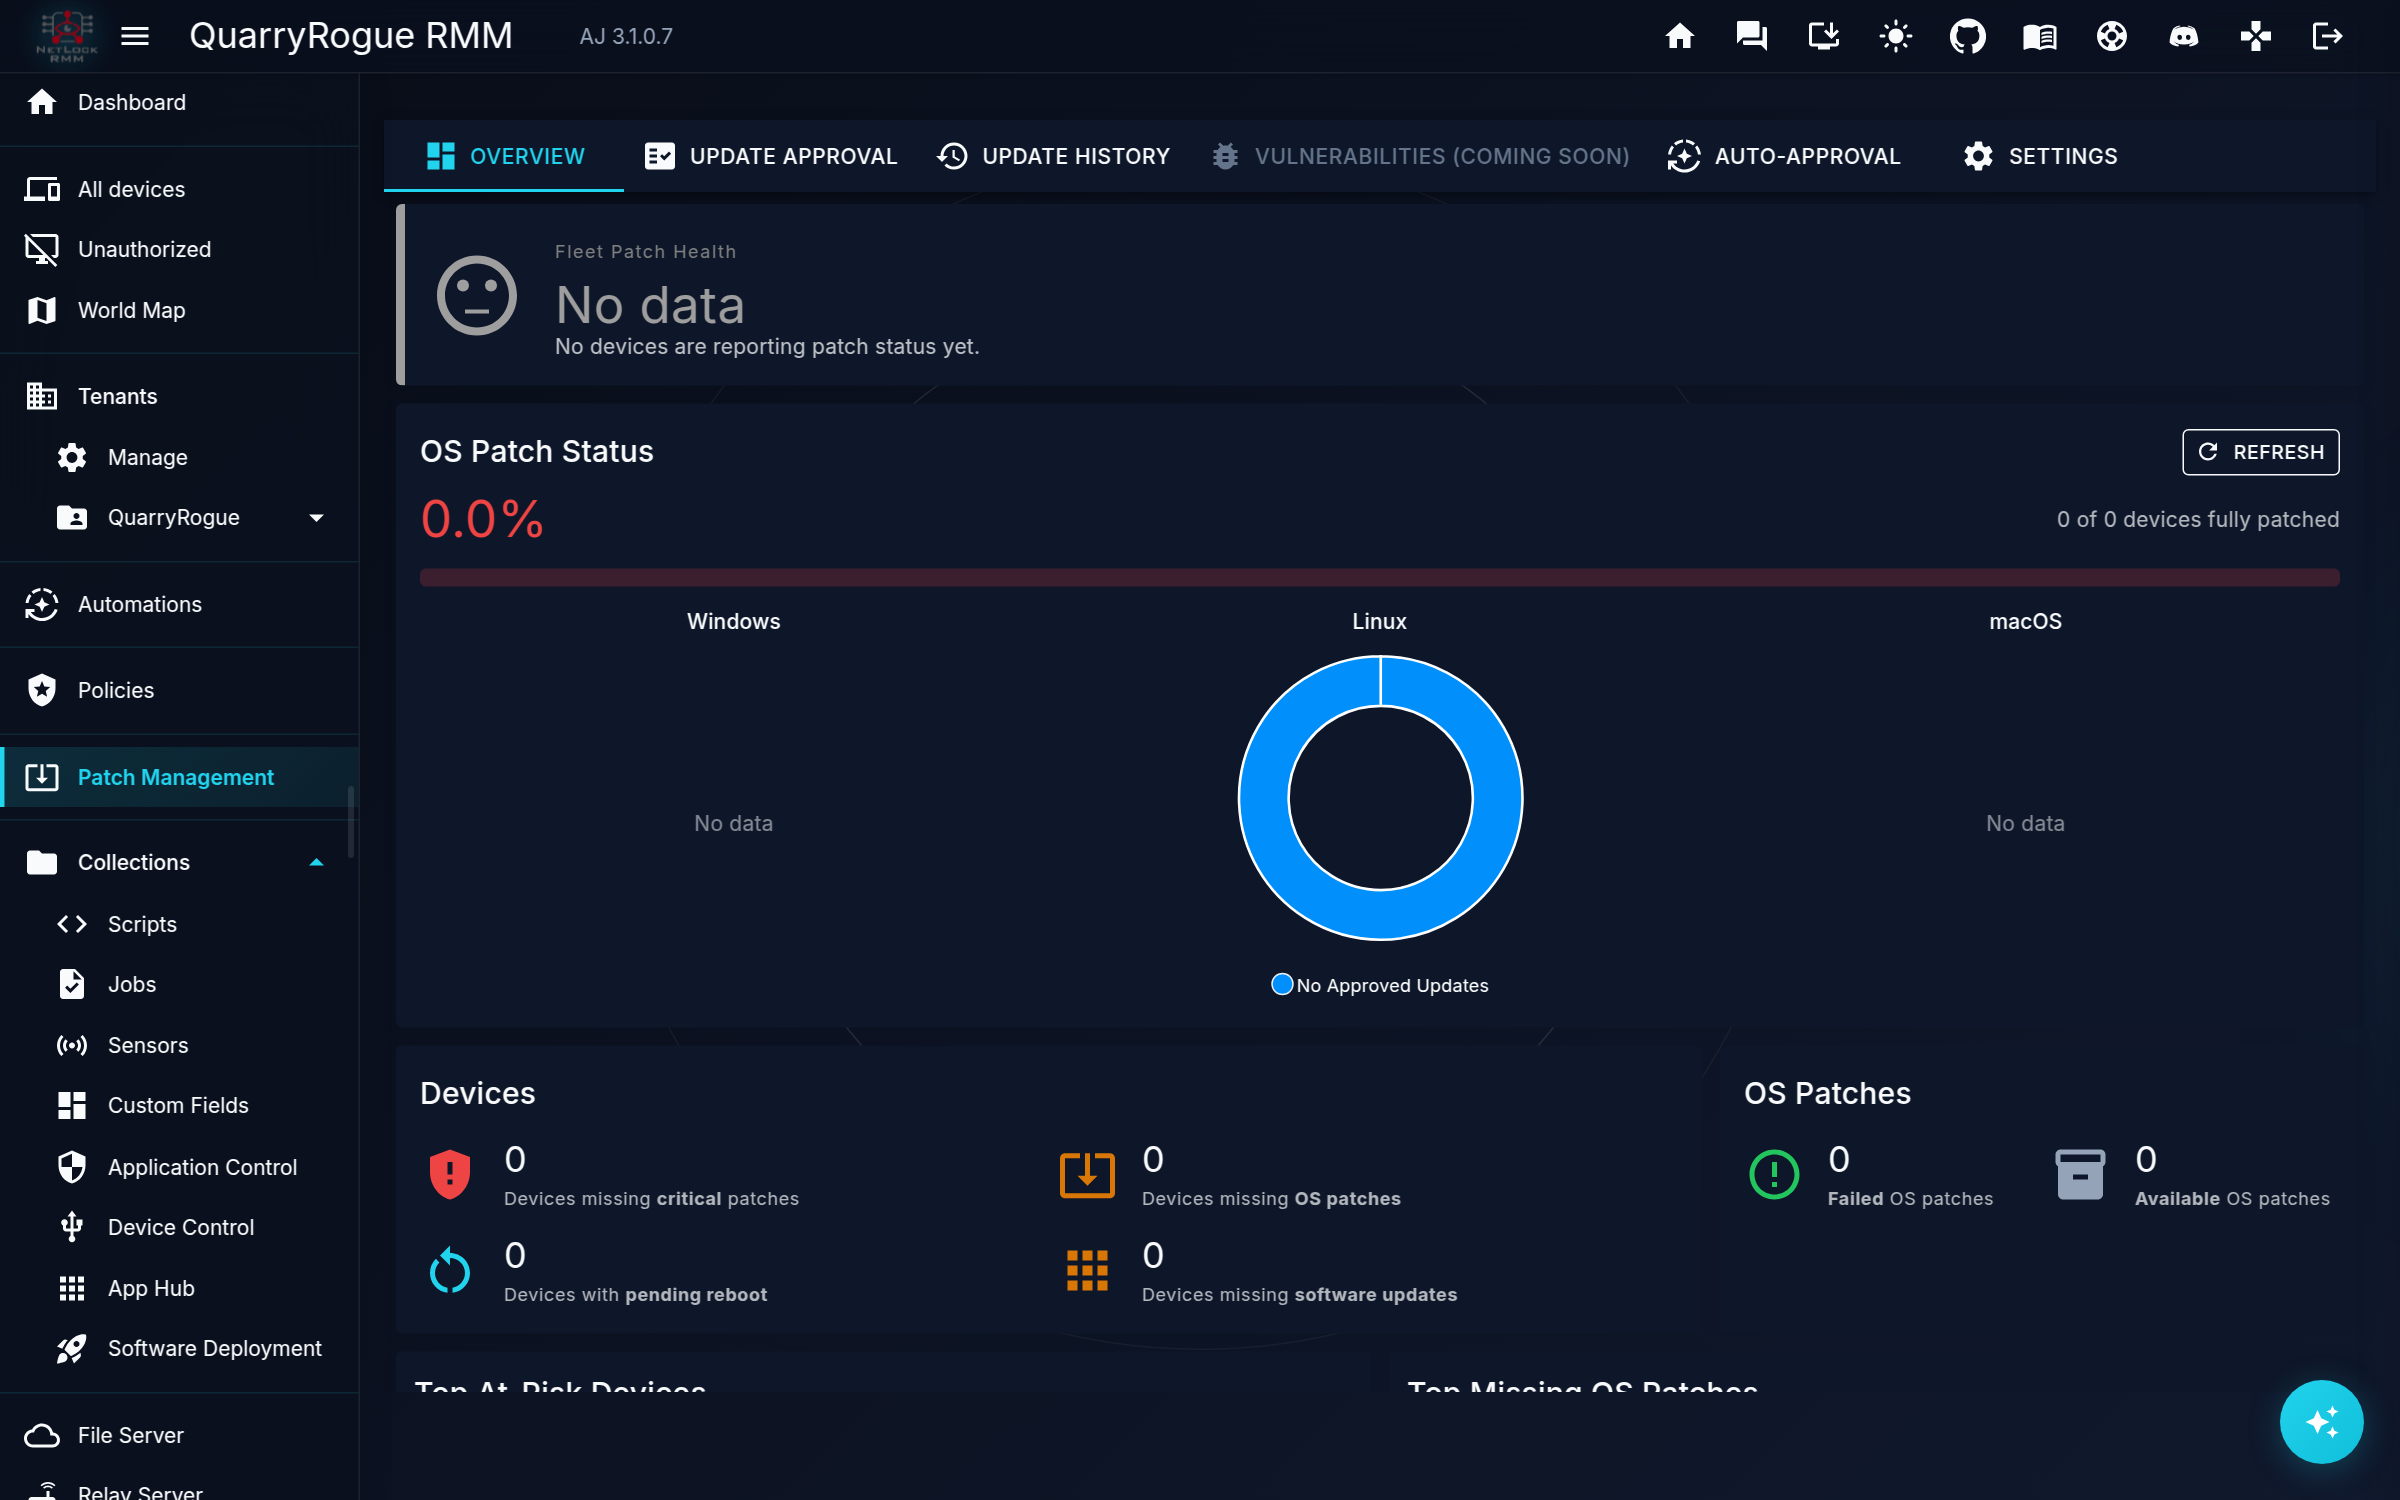
- Patch management has a report-only mode, which is the right mode if your hosts already run unattended-upgrades. Two things patching the same box will fight over the package lock.
- The vulnerability view populates from a CVE feed you trigger from its page. It is not a broken background job; it is a button nobody has pressed yet.
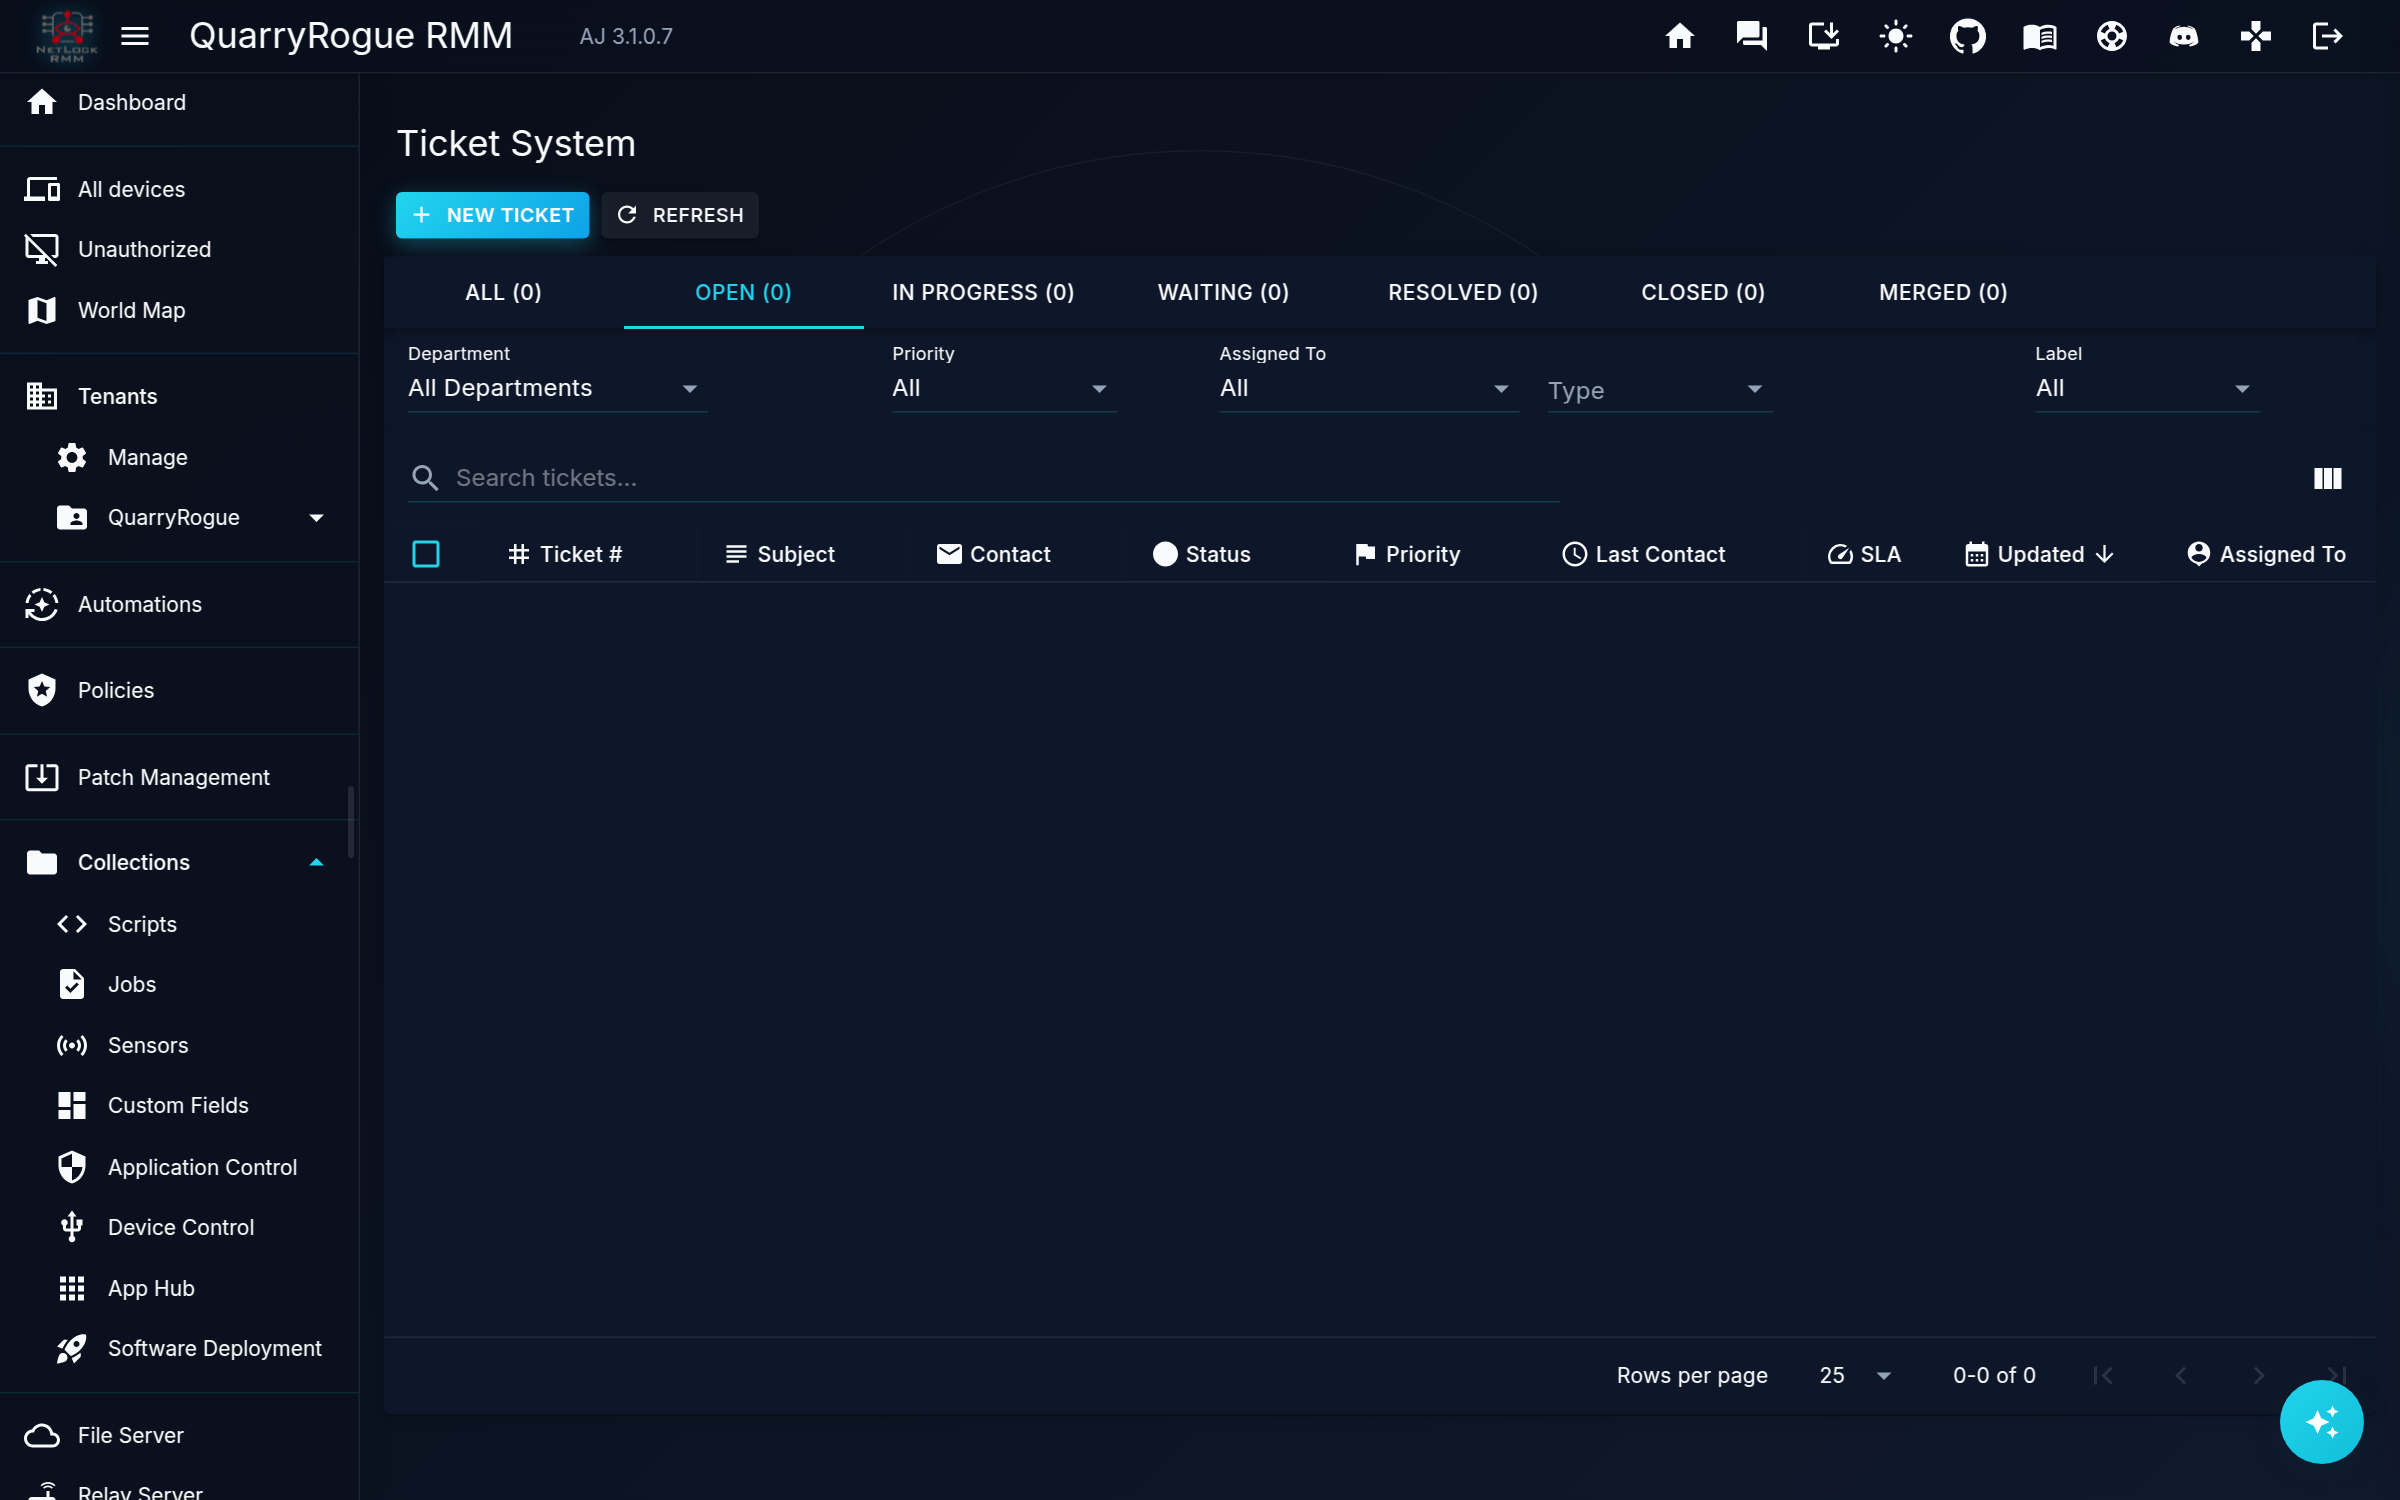
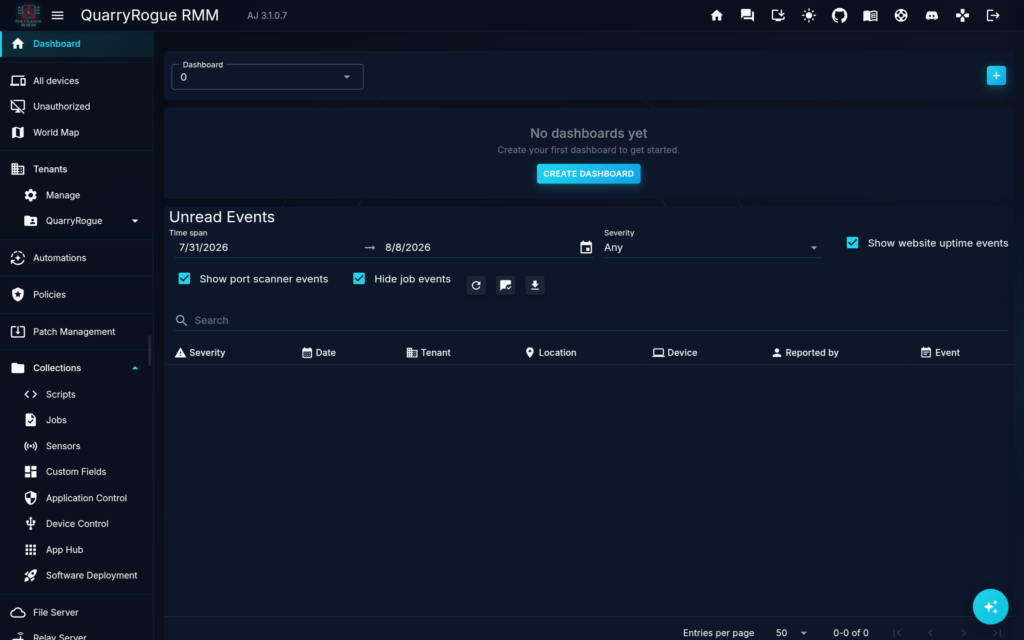
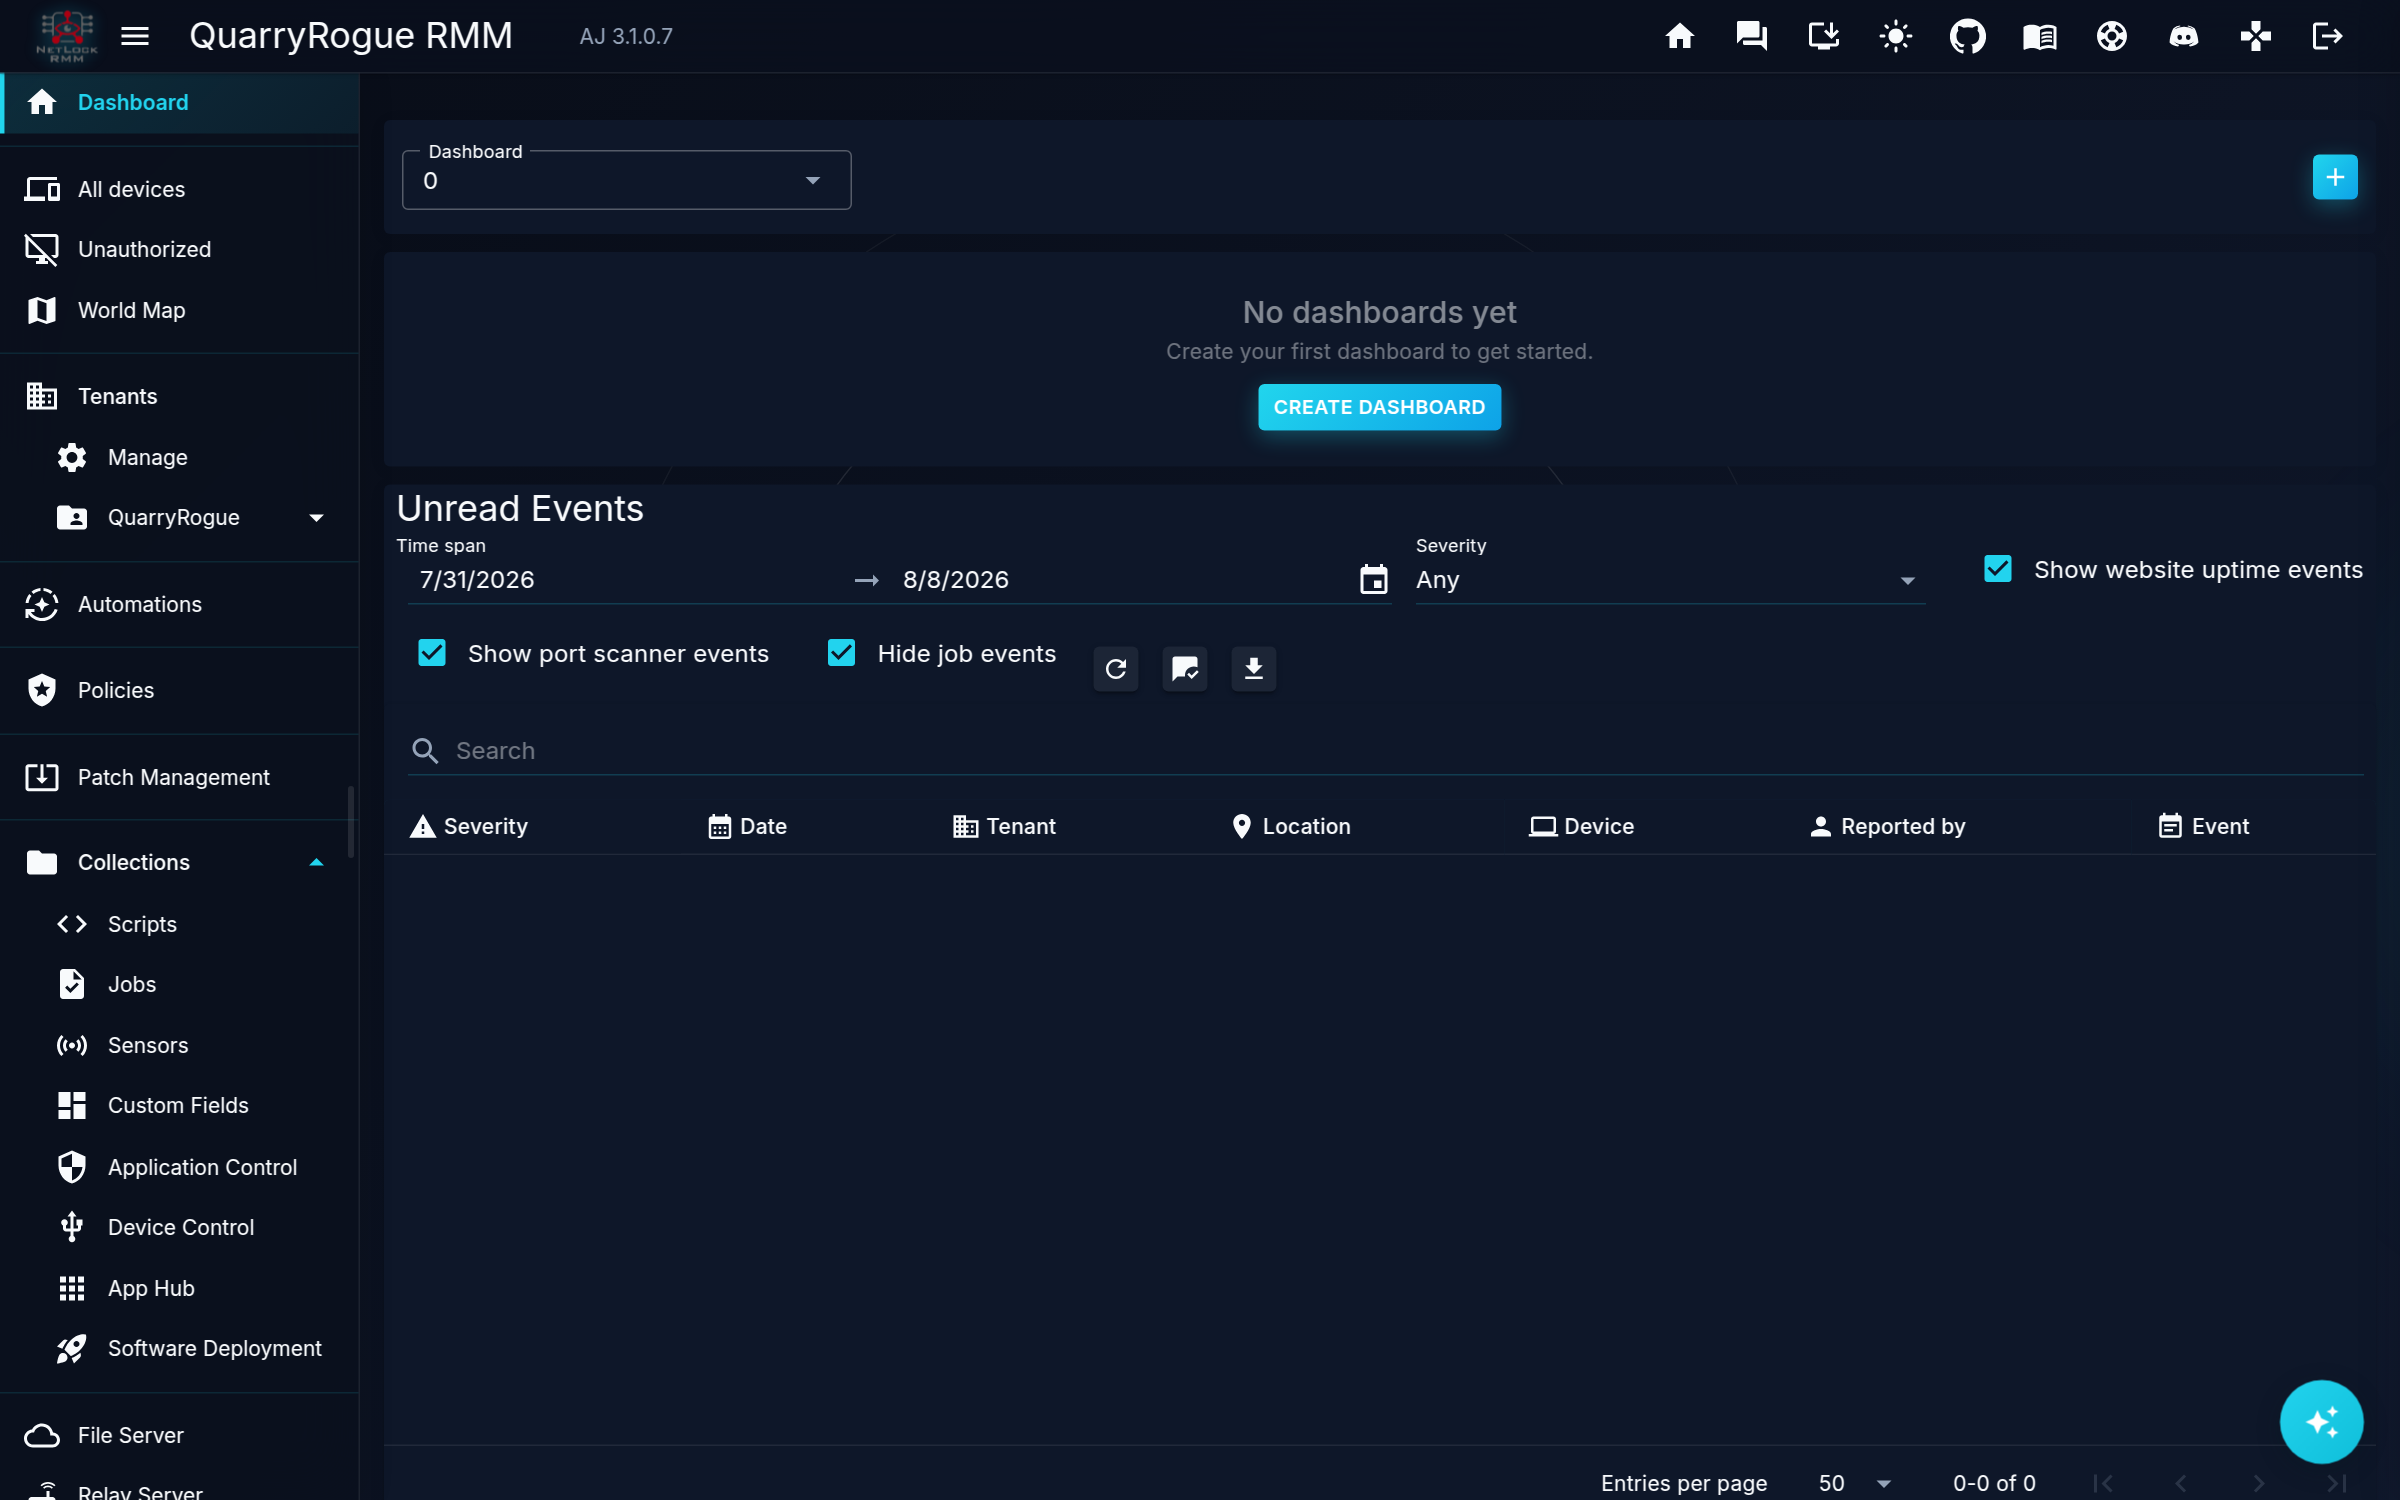
Gotcha 2: if the changelog says a feature shipped and you can’t see it, check your account’s permissions, or re-create your instance. NetLock ships features at a steady pace, and my instance sat mostly untouched from the original late-last-year deployment while Watchtower quietly kept the containers current. When I came back months later, the console showed a fraction of what the website advertises: no ticketing, no patch management, whole settings pages missing. The cause was nothing to do with the product. My admin account had been created by an older version, and accounts do not automatically receive permissions for features that ship later. There is no error and no log line; the console just hides what you are not entitled to see, and one unpermissioned page can even log you straight out. The fix is to update your account’s permissions (or create a fresh admin account, or rebuild the instance, since a new install grants the full set). The trap is that wiping and redeploying “fixes” it too, which is exactly why most people never find out what happened. And the real cost is not the lost afternoon. It is how easy missing config like this makes it to discount a genuinely good project, because a console showing a third of the product looks identical to a product that only does a third of what it promises. Full story, including how I actually tracked it down: I deployed NetLock RMM and judged it too early.
What it does well, and what is missing
After the permissions fix, the honest read is that NetLock covers more of the commercial RMM surface than its quiet console first suggests: inventory, monitoring, policies, scripting/jobs, software deployment, patching, remote access, and the service desk. I run report and remediation scripts through it (disk hotspot reports, pending-reboot checks, Docker prune jobs) as the beginnings of estate automation.
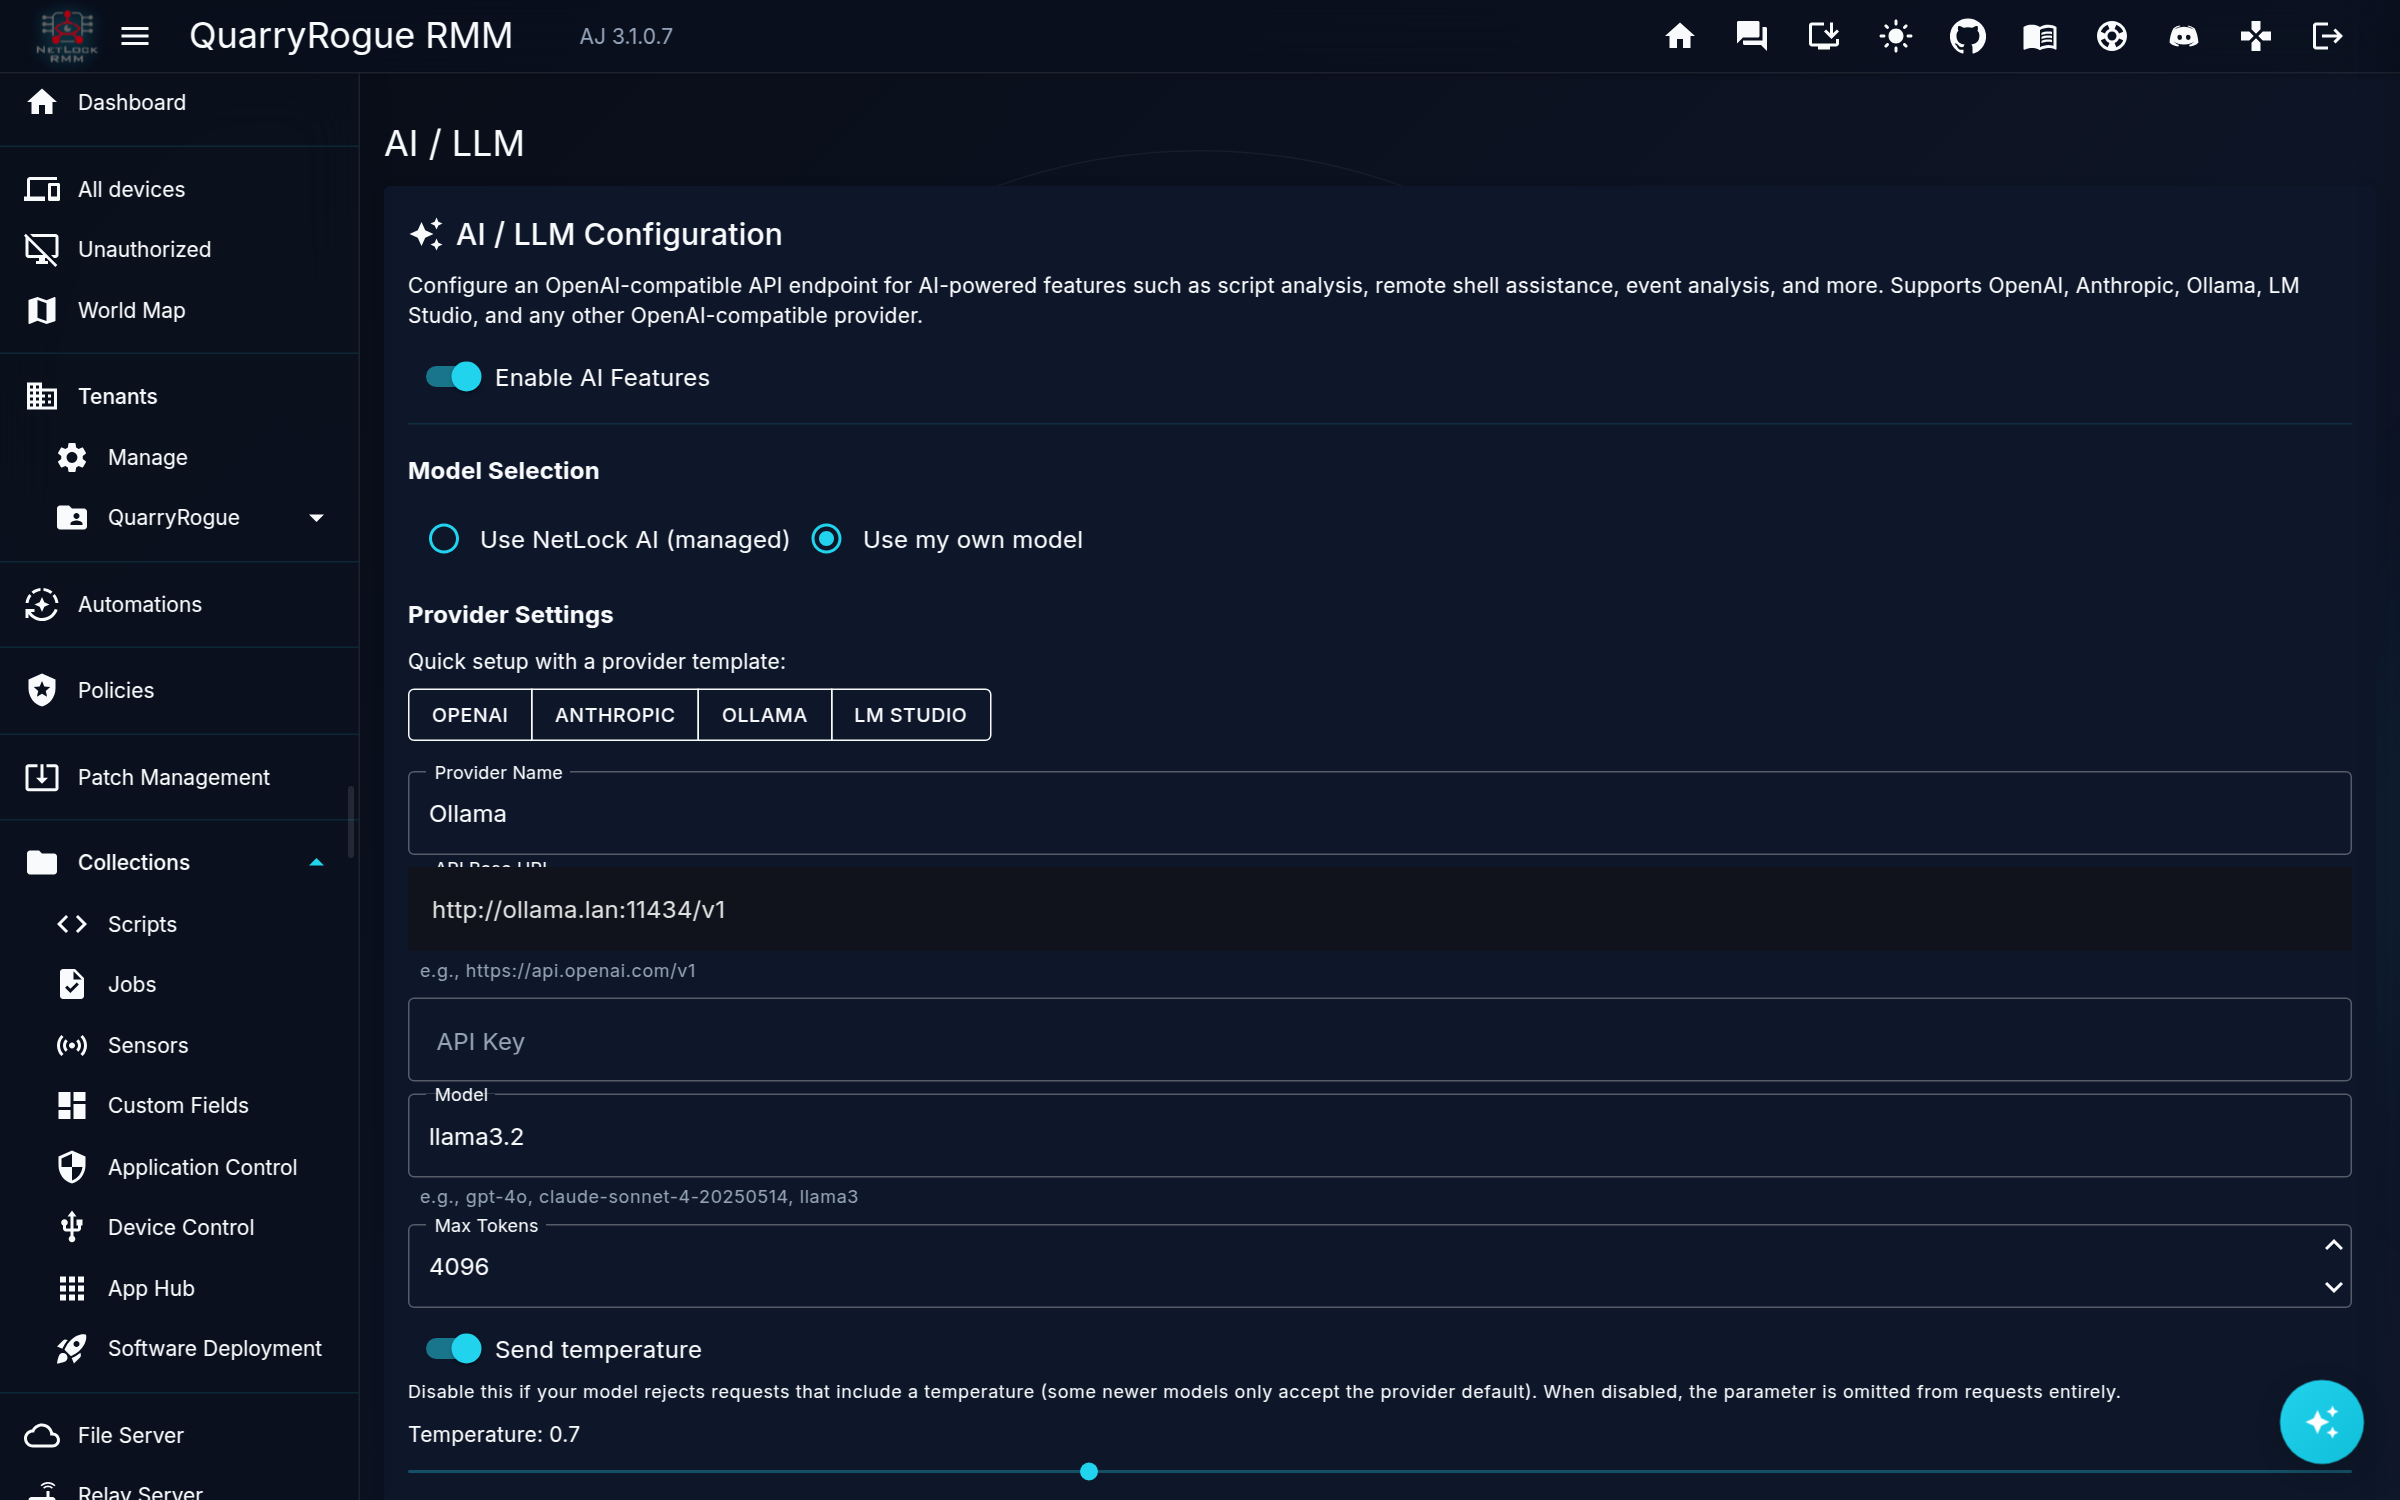
It now ships with an AI layer too. The assistant helps with script analysis, remote shell work and event explanations, and the model behind it is your choice: provider templates exist for OpenAI, Anthropic, Ollama and LM Studio, and any OpenAI-compatible endpoint works, which covers OpenRouter as well. There is a managed NetLock AI option if you would rather not think about it. Mine points at a locally hosted Ollama running llama3.2, which means the AI features work without a single byte of estate data leaving the building. For a privacy-focused RMM that is exactly the right shape: the intelligence is optional, pluggable, and can be as sovereign as the rest of the stack.
The gap I feel most: no antivirus integration yet. In my estate that job stays with the existing security stack, and an RMM that cannot see AV state is a real limitation if you are measuring it against Datto or NinjaOne. It is in active development, so check the changelog before treating any gap here as permanent, and then remember gotcha 2.
If NetLock’s device limits or feature set don’t fit, Tactical RMM is the other serious self-hosted option and deserves its own comparison post.
The short version
Three containers, one evening, and you own the layer that MSPs pay per-endpoint for. Watch the trailing spaces on enrolment, and when a feature seems missing, suspect your account before you suspect the product.
RTFM Apparel · printed in the UK


ReadTheManual is run, written and curated by Eric Lonsdale.
Eric has over 20 years of professional experience in IT infrastructure, cloud architecture, and cybersecurity, but started with PCs long before that.
He built his first machine from parts bought off tables at the local college campus, hoping they worked. He learned on BBC Micros and Atari units in the early 90s, and has built almost every PC he’s used between 1995 and now.
From helpdesk to infrastructure architect, Eric has worked across enterprise datacentres, Azure environments, and security operations. He’s managed teams, trained engineers, and spent two decades solving the problems this site teaches you to solve.
ReadTheManual exists because Eric believes the best way to learn IT is to build things, break things, and actually read the manual. Every guide on this site runs on infrastructure he owns and maintains.
Enjoyed this guide?
New articles on Linux, homelab, cloud, and automation every 2 days. No spam, unsubscribe anytime.