We all know that one corner in the house where cables run wild, blinking lights dazzle in the dark, and airflow is barely a thought. For me, that corner was the hallway: where the internet connection enters, access points are fed, Smart Home hubs live, and the rack got dirtier by the week.
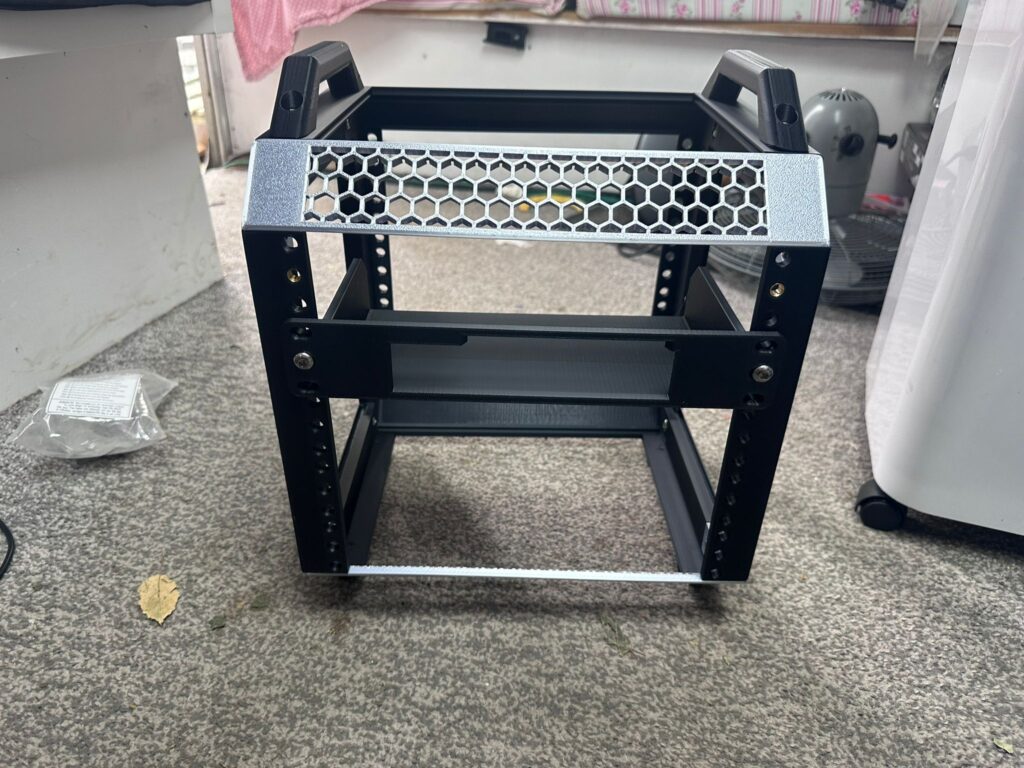
This week I decided enough was enough — time to tidy up. Using the Lab Rax 10″ 5U 3D‐printed server rack model by mklements from MakerWorld, I built a clean, modular, and functional rack to house everything. This post walks through my design, build process, what gear I fitted, and lessons learned. You can use this as inspiration (or even a guide) to upgrade your setup.
What is the Lab Rax 10″ 5U rack
Customisable panels, side vents, extensions (if you want more than 5U), possible fan mounts, etc. MakerWorld
A fully 3D‐printable, modular 10-inch server rack designed for homelab use: small form factor PCs, Raspberry Pis, network gear, etc. MakerWorld
Build specs: about 25.8 hours print time (for the basic frame), 10 plates, PETG or PLA (depending on strength, look, etc.), hardware includes screws (M6x10mm), brass inserts for stability. MakerWorld
Why I chose it
- Fit: 10-inch rack size is perfect for what I needed (USW switch, Pis, mini PC, etc.).
- Modularity: ability to add panels, extensions, customise vents.
- Clean aesthetic + function: good cable access, ventilation, less clutter.
- A project combining homelab + 3D printing = fun and satisfying.
My Build: Step-by-step
| Step | What I did |
|---|---|
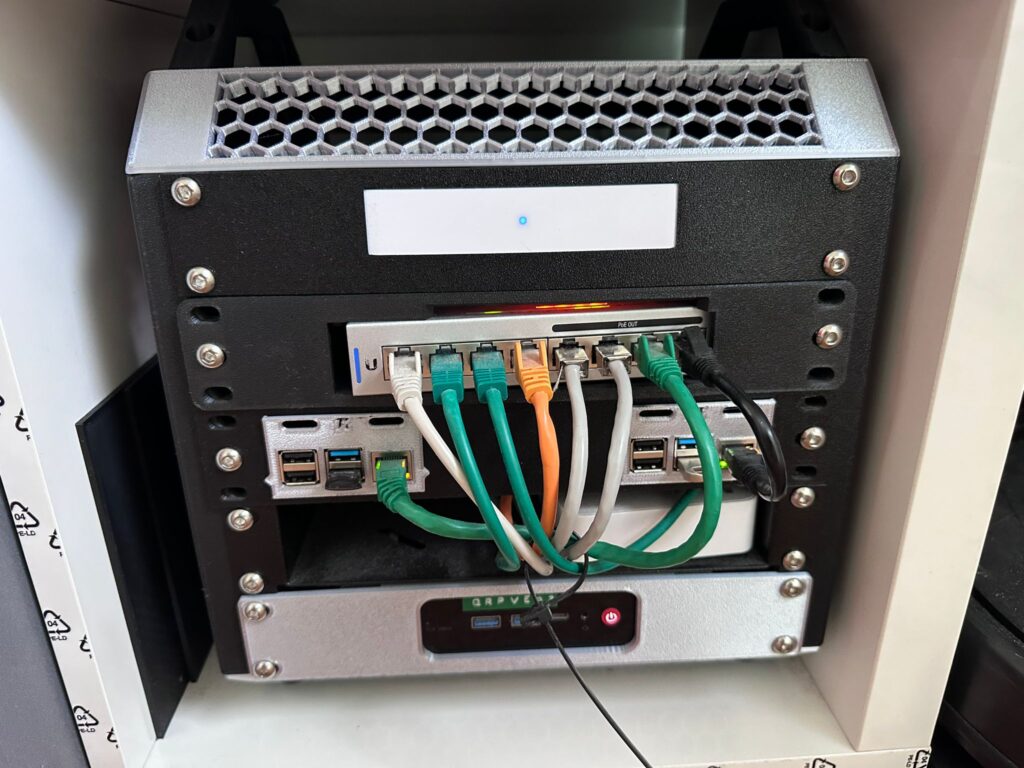
| Planning & layout | Listed all the gear to go in: Unifi Gateway Pro, USW 8 PoE switch, Raspberry Pi 5 (Home Assistant), Raspberry Pi 4 (Docker + monitoring), smart hubs, one node of the Proxmox cluster (Beelink SER5). Measured sizes, ensured mounting positions, ventilation paths, cable routing. |
| 3D printing the parts | Used the Lab Rax 10″ 5U model. Chose PETG for the frame and parts bearing weight; other non-structural panels in PLA. Printed at ~0.2 mm layer height, 2 walls, ~15% infill as per the model’s recommendations. MakerWorld |
| Hardware & fasteners | Used M6x10mm button-head screws, and brass inserts (8 mm OD, 4 mm length) for strong joints. Ensured everything lines up perfectly so panels align and screws thread cleanly. |
| Assembly | Built frame → fitted base + side panels → installed gear in planned order so heavier / heat-producing items get better ventilation. Routed cables neatly behind panels, labelled where possible. |
| Ventilation & cooling | Made use of side vents, left gaps for airflow, planning fan positions where needed. Ensured that the switch and gateway get sufficient airflow. |
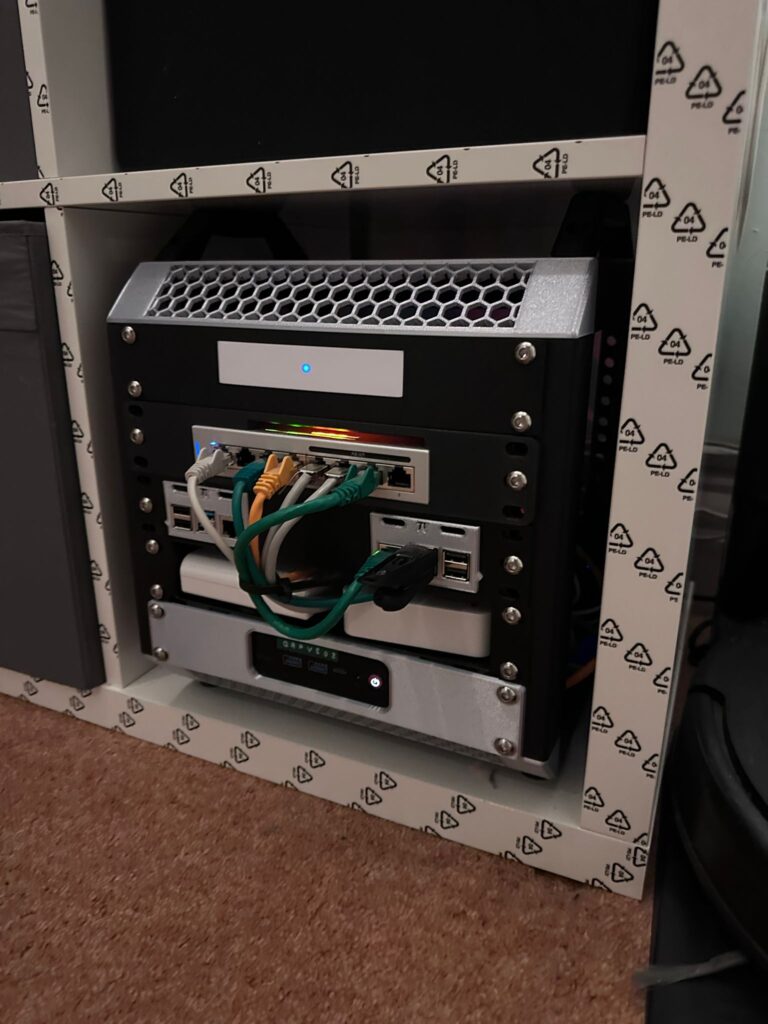
| Final placement | Positioned the rack in the hall in the dedicated network corner, accessible, but less visually intrusive. Ensured power & ethernet inputs reach without strain. |
Final Gear List (in this rack)
- Unifi Gateway Pro
- Unifi USW 8 PoE Switch
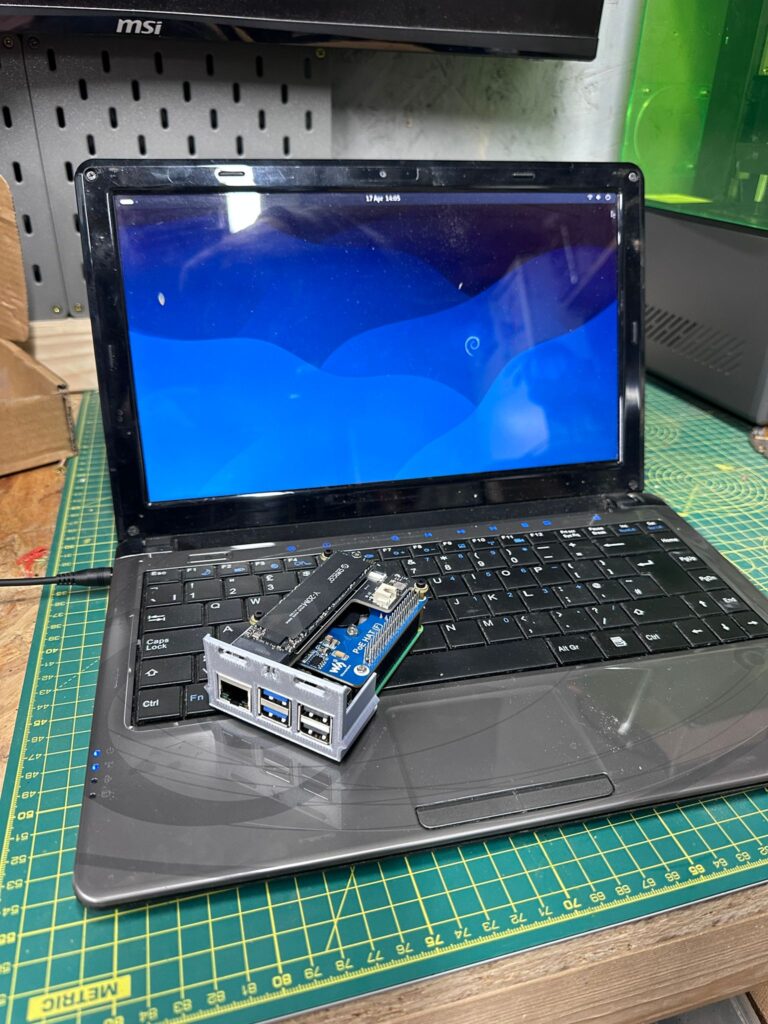
- Raspberry Pi 5 (Home Assistant)
- Raspberry Pi 4 (Docker + monitoring)
- Smart Home Hubs (Zigbee / Z-Wave / etc.)
- Beelink SER5 (one node of Proxmox cluster)
Shopping List:
ANYCUBIC PLA+ 3D Printer Filament 1.75mm

Amazon US
8PCS Soldering Iron Tips for Threaded Inserts, Heat Set Inserts

Amazon US
50 Pcs M6 Brass Knurled Threaded Insert M6x6mm

Amazon US
M6 x 10mm Bolts 50Pcs Hex Socket Button Head Bolts 304 Stainless Steel Pan

Amazon US
Links to the Models
https://makerworld.com/en/models/1294480-lab-rax-10-server-rack-5u

Results / What changed
- The area looks so much cleaner: no loose boards, dangling cables, messy stacking.
- Improved maintainability: I can swap boards, replace a Pi, or move modules without pulling everything out.
- Improved airflow = likely quieter/more reliable equipment.
- More confidence: the setup feels professionally done, even though it’s a home DIY build.
- 10 Raspberry Pi 5 projects that advance your career
Lessons Learned & Tips
- Choose filament/material wisely – PETG or similar for weight-bearing/frame parts; PLA is okay for panels but less durable.
- Fasteners & hardware – getting proper brass inserts makes assembly stronger and less prone to loosening.
- Print tolerances – ensure parts are aligned; minor tweaks may be needed (clearance, screw tolerance).
- Heat & airflow – plan for vents or fan mounts; gear like switches make heat, and airflow is not to be neglected.
- Cable management – spend a bit of time here; Velcro straps, clips, trimming cables helps a lot.
- Future-proofing – allow a little spare space, modularity, headroom for adding more devices later.
Conclusion
Sometimes the satisfaction of a project doesn’t come from new shiny kit, but from making existing gear feel organised, purposeful, and reliable. My Lab Rax 10″ 5U build took some hours, some filament, but the payoff is high: cleaner look, better serviceability, and a setup I actually enjoy working with.
If you’re into homelab, smart homes, or just hate cable spaghetti in the hallway — this is absolutely a build worth doing.

ReadTheManual is run, written and curated by Eric Lonsdale.
Eric has over 20 years of professional experience in IT infrastructure, cloud architecture, and cybersecurity, but started with PCs long before that.
He built his first machine from parts bought off tables at the local college campus, hoping they worked. He learned on BBC Micros and Atari units in the early 90s, and has built almost every PC he’s used between 1995 and now.
From helpdesk to infrastructure architect, Eric has worked across enterprise datacentres, Azure environments, and security operations. He’s managed teams, trained engineers, and spent two decades solving the problems this site teaches you to solve.
ReadTheManual exists because Eric believes the best way to learn IT is to build things, break things, and actually read the manual. Every guide on this site runs on infrastructure he owns and maintains.
Enjoyed this guide?
New articles on Linux, homelab, cloud, and automation every 2 days. No spam, unsubscribe anytime.